How to Take a Screenshot on Windows 10
In this tutorial, we are going to see how to take a screenshot on windows 10. There’s no need to install software to take screenshots with a Windows 10 PC: the system comes with a basic function but also a very practical application to do so.
Whether on a computer, a phone, or a tablet, a screenshot is an exact copy of what is displayed on the screen. It is the equivalent of a photograph but without a camera.
There are many reasons to take screenshots. It can be to illustrate a manipulation on a computer or a phone, to show a bug in a software, with a picture to support it, to ask for help from a specialist on a forum or an online help service, to capture a scene in a video game, etc. Once the capture is made, it can be kept and manipulated like any other file, since it is an image, retouched in a graphic software – to select a part of it, to highlight elements, to hide confidential information, etc…
It is very easy to take screenshots on a computer, especially on Windows 10, using a keyboard key.
Method 1: How to Take a Screenshot on Windows 10
The easiest way to do this, which works with all versions of Windows, is to use a special keyboard key.
No matter where you are (Windows desktop, File Explorer, software, etc.), simply press the PrtSc key (or Print Screen on some models), usually located at the top right of your keyboard. On laptops, you may need to use the Fn key in combination.
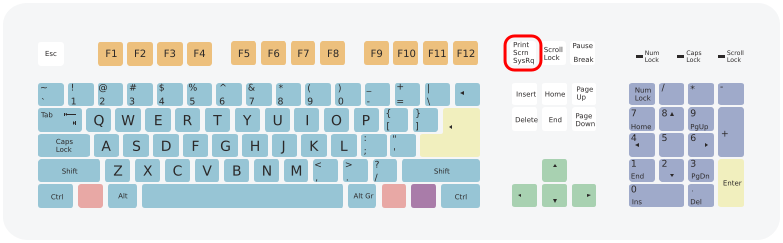
Everything that is displayed on the screen is instantly copied to the Windows Clipboard.
To capture only the active window, use the keyboard shortcut Alt + Print Screen.
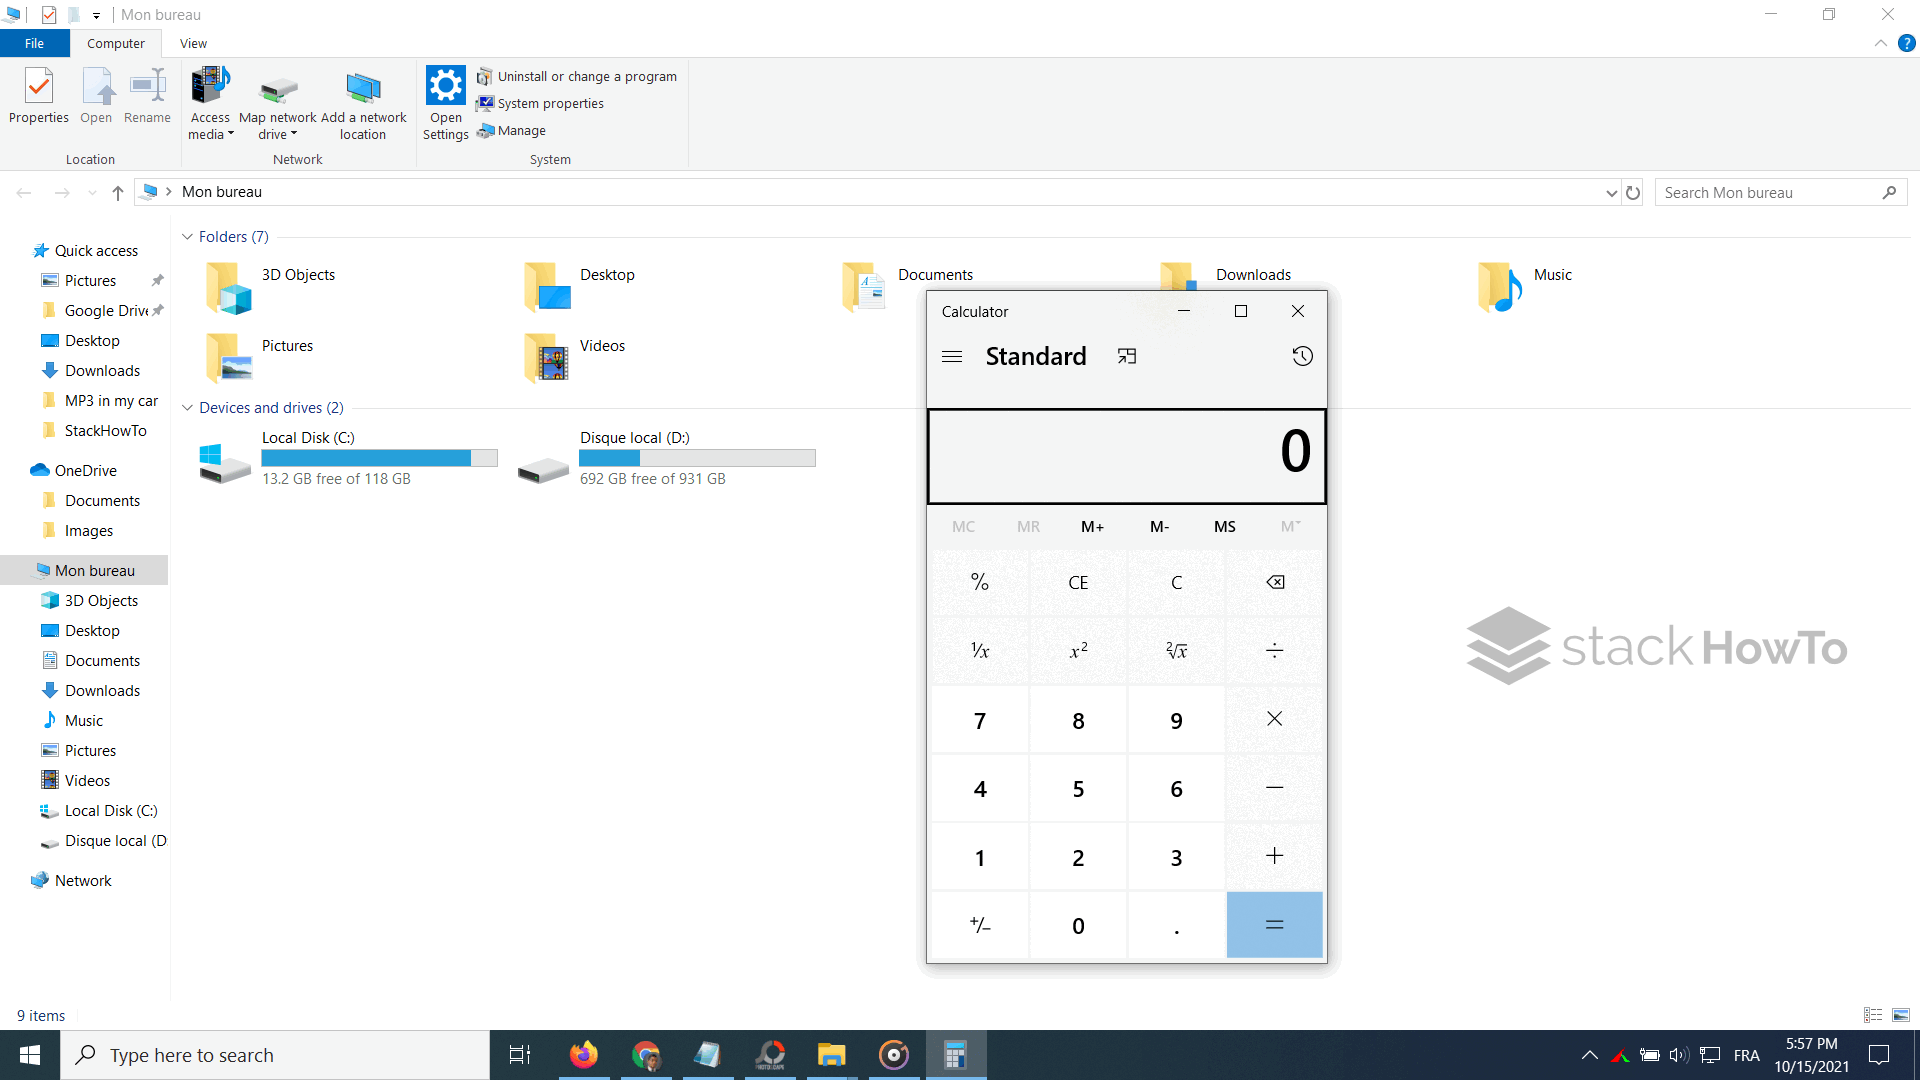
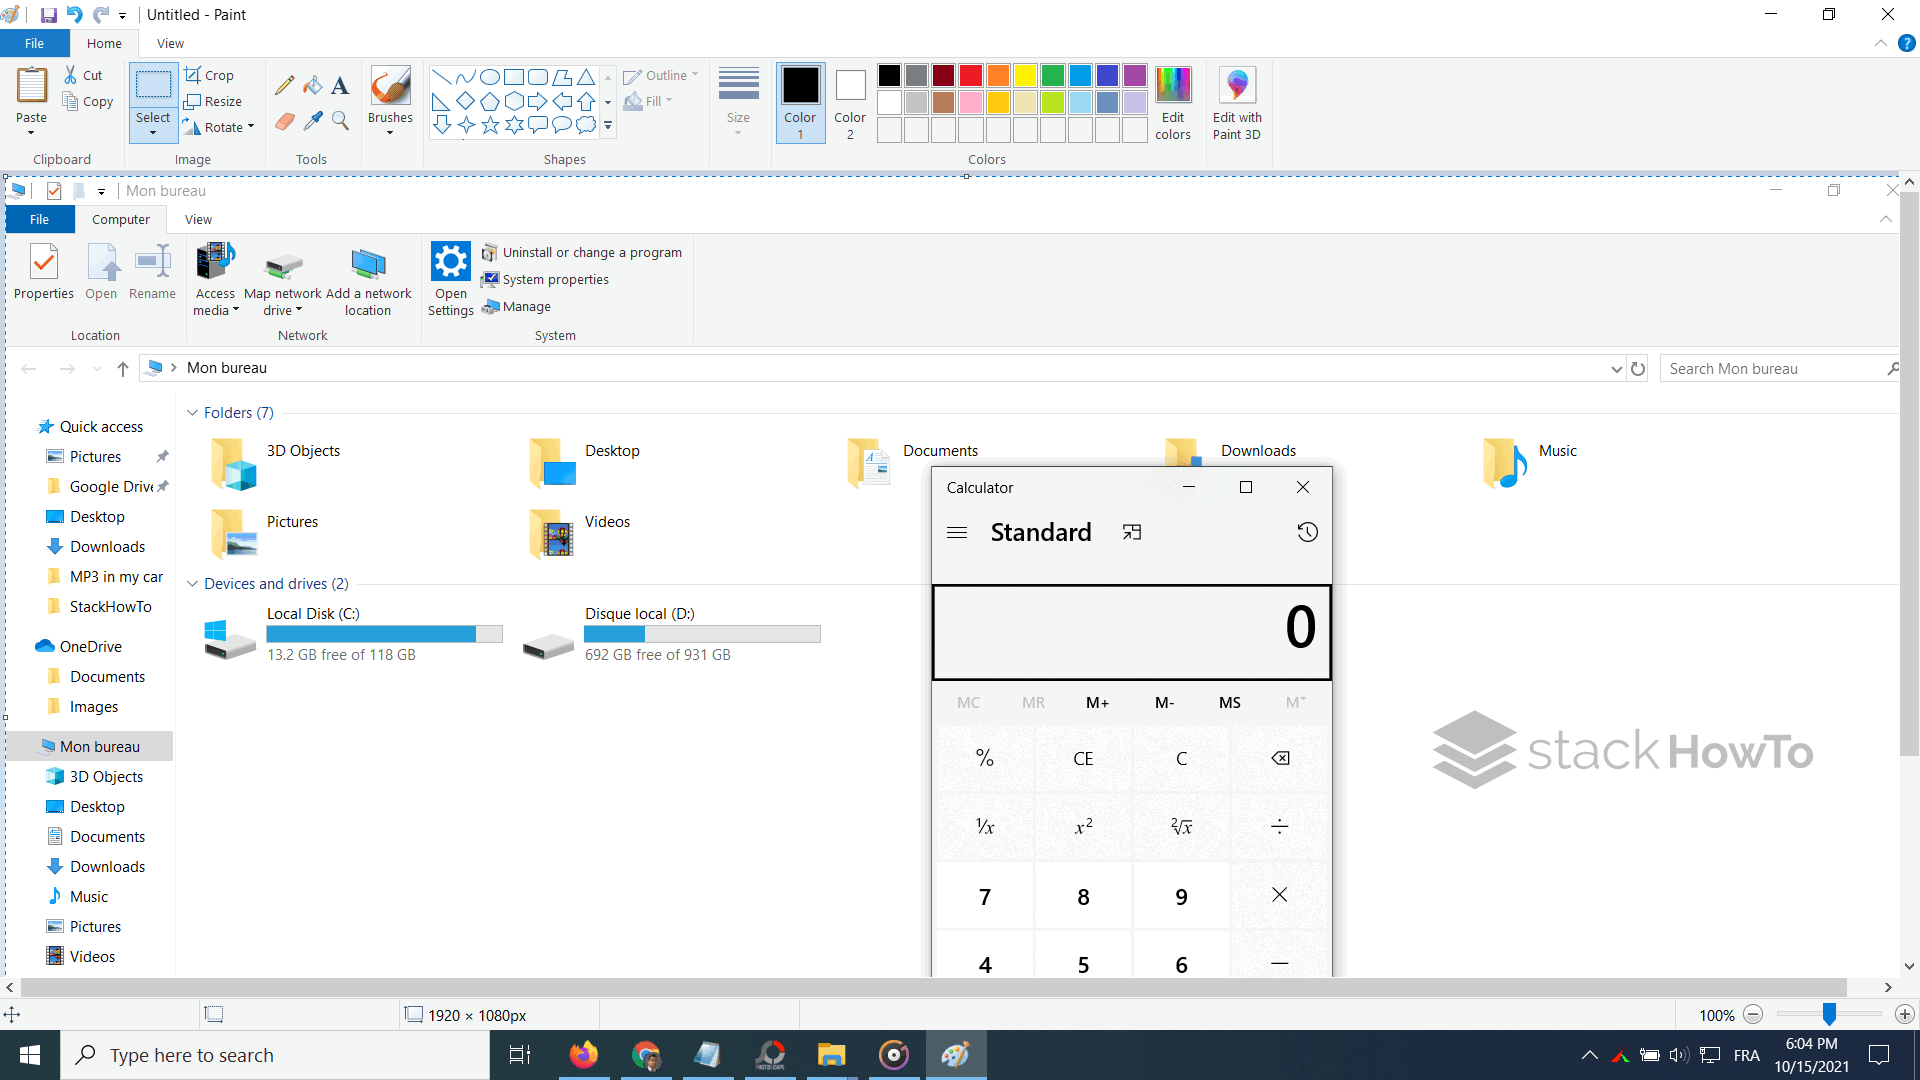
If you want to use the screenshot immediately, you can paste it into any program that can accept an image in a document (image editing, email, word processing, etc.) with the keyboard shortcut Ctrl + V or by right-clicking in the document and selecting Paste from the context menu.
Once you have pasted your capture into an image editing program, such as Paint, which is integrated into Windows, you can crop and modify it, but also save it in another graphic format, if necessary by giving it an explicit name.
Method 2: How to Take a Screenshot on Windows 10
Many people don’t know this, but Windows has a built-in screenshot tool, which is ideal if you want to customize, annotate or share your screenshots.
It’s not as advanced as other similar tools, but it has the advantage of being installed by default in Windows (from Vista versions onwards), so you don’t have to download anything extra.
Here’s how to use it:
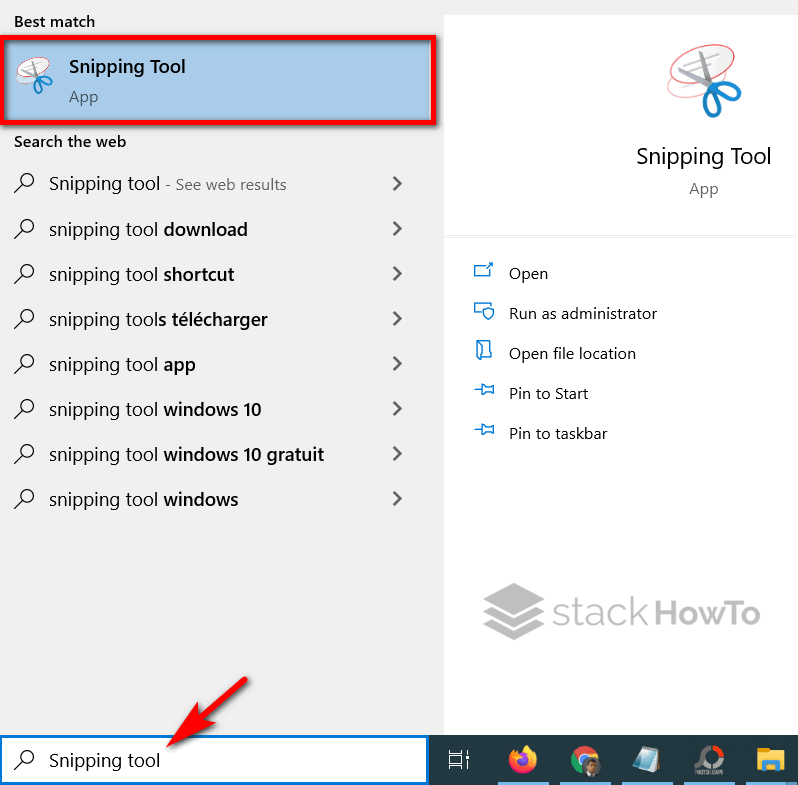
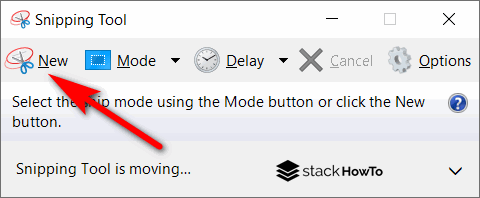
To access the tool, click on the Start menu, and type Snipping tool in the search bar, then click on it.
You will then have access to 4 different screen capture modes:
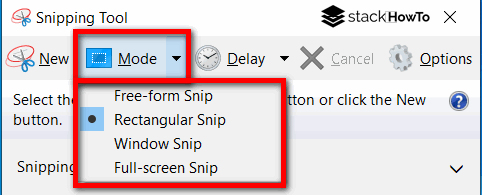
- Freeform Snip: This allows you to manually select the area to be captured with your mouse.
- Rectangular Snip: This allows you to select a specific area of your screen.
- Window Snip: This allows you to capture the window of a program displayed on the screen.
- Full-Screen Snip: This allows you to capture the entire screen.
Once you have decided the screen capture mode that is right for you, simply click New and then select the area of the screen you want to capture.
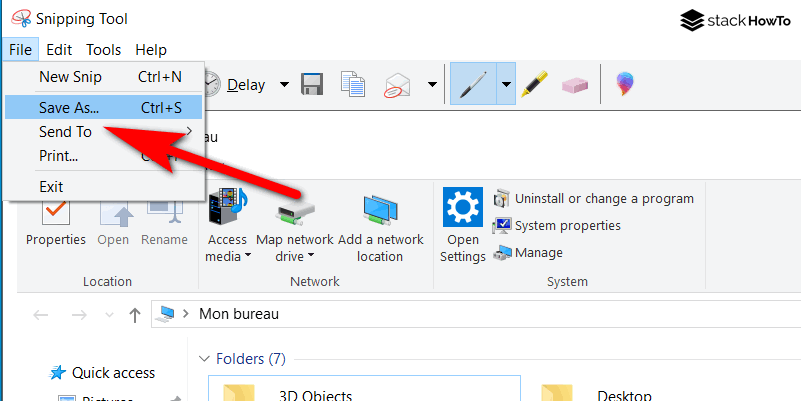
Your capture will appear in the tool. You are then free to modify it using the various editing options at your disposal (eraser, pencil, etc.)
Finally, all you have to do is save your screenshot, or insert it directly into a Word file or an email by simply copying and pasting it.
There are many ways to take a screenshot on a computer. To make your choice, ask yourself what you need. If you want to take a basic screenshot, the built-in Windows tools should be enough.