How to Calibrate Your Monitor in Windows 10
In this tutorial, we are going to see how to calibrate your monitor in Windows 10. Windows 10 provides you a tool called Color Calibration, you can adjust the brightness and color contrast of your monitors and make sure that all visuals are displayed perfectly on your computers. In this tutorial, we will explain the method by which you can calibrate your monitor in Windows 10.
How to Calibrate Your Monitor in Windows 10
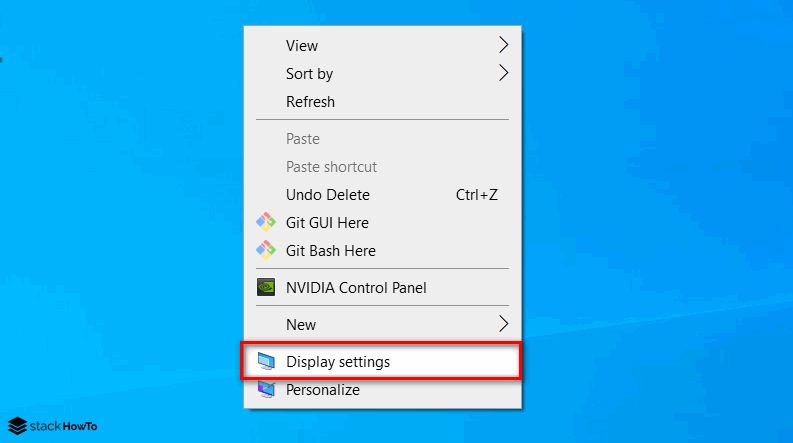
Step 1: Right-click on the desktop and select Display Settings.
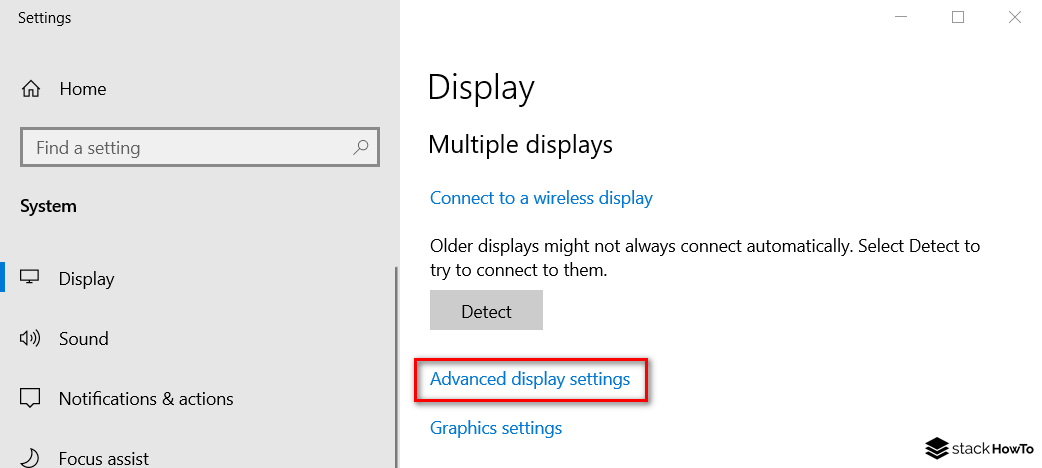
Step 2: Scroll down and Click on Advanced Display Settings at the bottom of the configuration window.
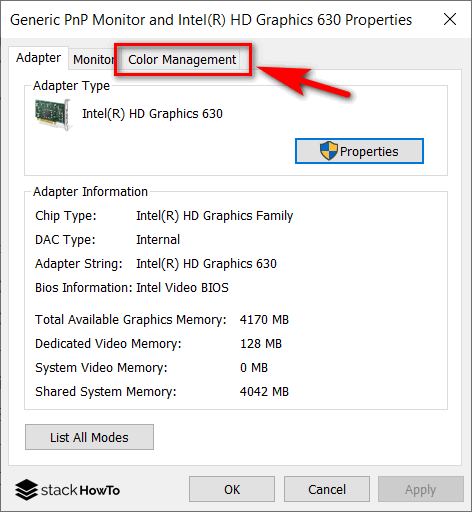
Step 3: In the “Advanced Display Settings” window, click on the Display adapter properties for display 1 link.

Step 4: Select Color Management tab.
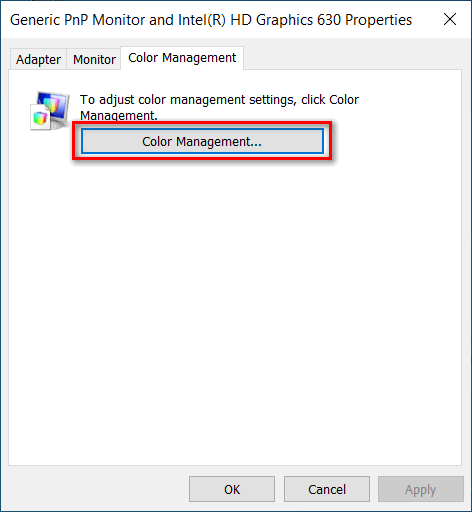
Step 5: Then click on the Color Management… button.
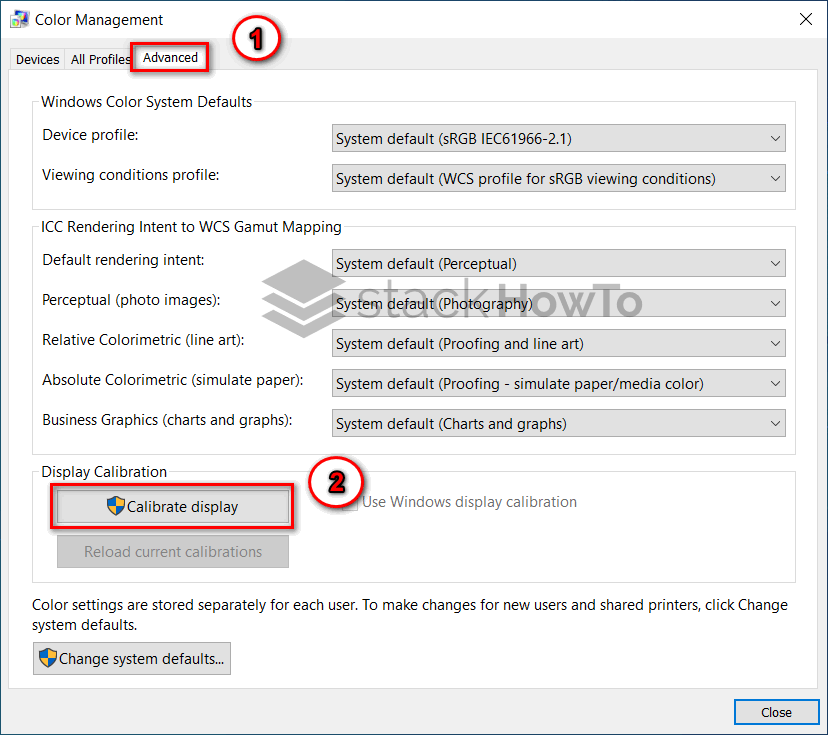
Step 6: Select Advanced tab and click on Calibrate Display.
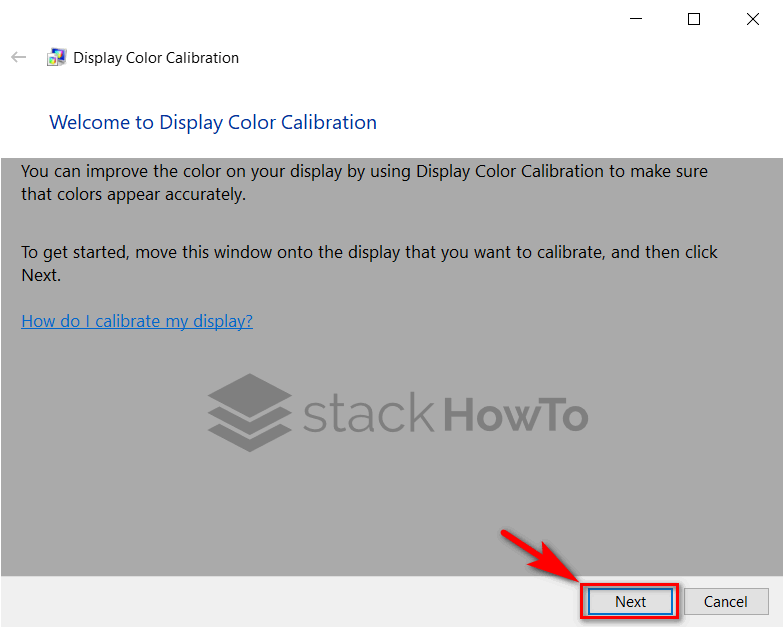
Step 7: This will launch the monitor color calibration wizard. If you are not familiar with calibrating the color of your monitor, click on “How do I calibrate my monitor?” link for more information.
Step 8: The number of colors your monitor is capable of displaying depends on several factors, including the graphics adapter, the type of monitor used, and the interface. For modular monitors, it is recommended to use DVI (Digital Video Interface) for guaranteed accuracy. Windows 10 calibration tools focus on a few areas:
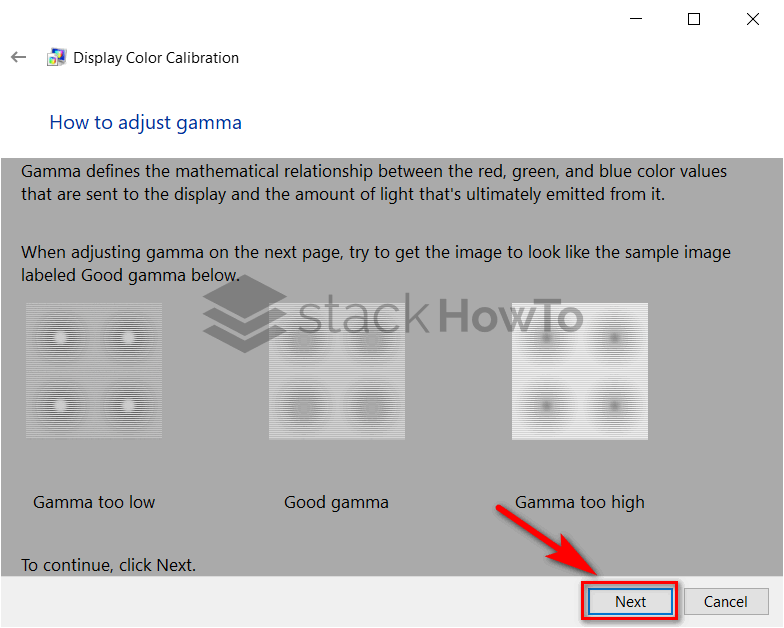
- Gamma – How the red, green and blue colors are projected onto the screen to make up the color of an image.
- Brightness and contrast – How well elements appear in an image without looking washed out or too dark.
- Color Balance – The accuracy with which your monitor displays a particular shade of gray.
The accuracy will ultimately depend on your own perception. Click Next to begin the adjustment.
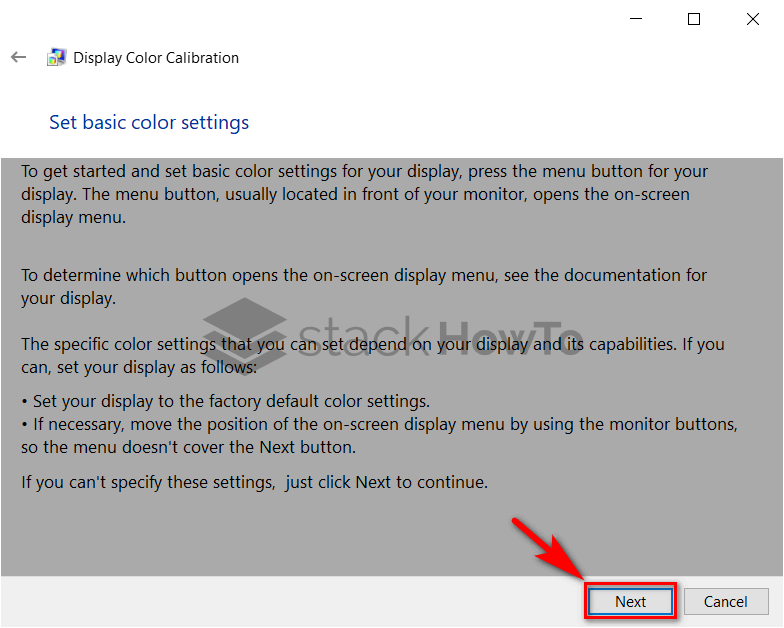
Step 9: Click on Next.
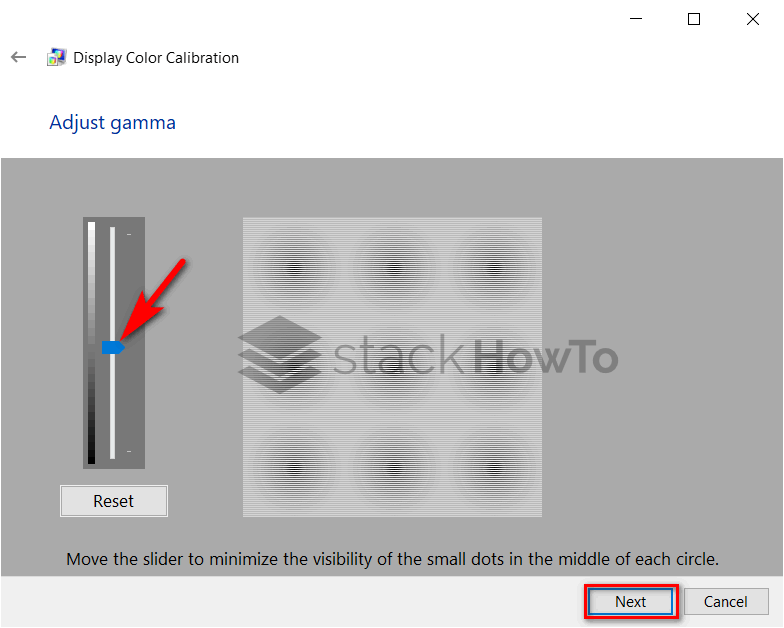
Step 10: Move the slider to reduce the visibility of the pale dots. If you cannot distinguish the recommendation from the first page, you can click Next or reset it and try again.
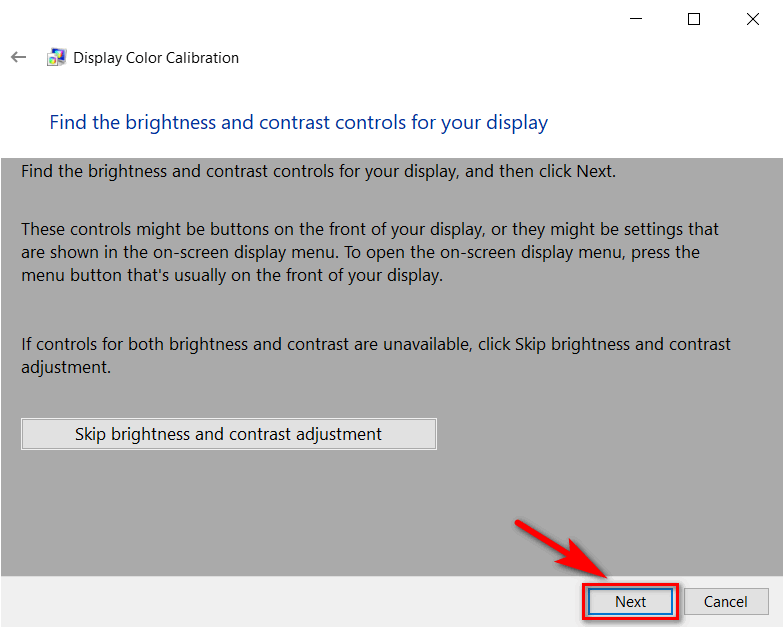
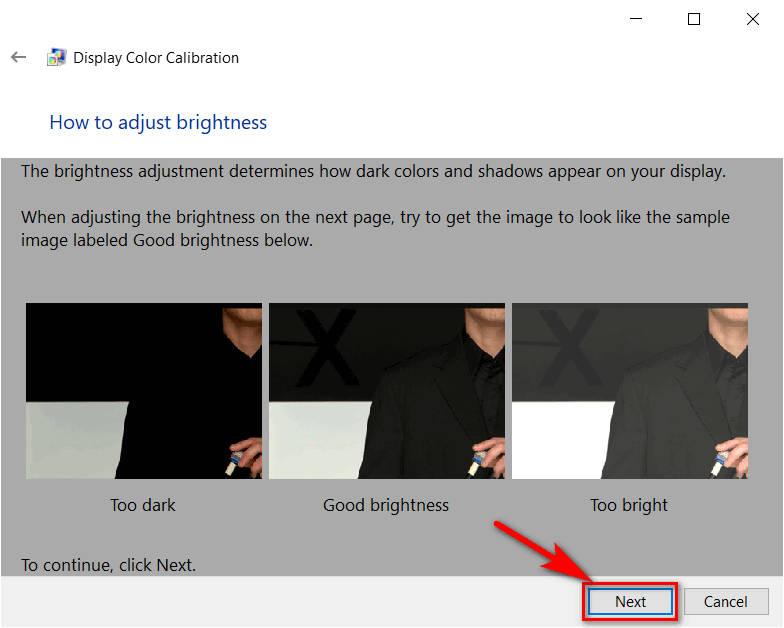
Step 11: Brightness and contrast: The next two screens control brightness and contrast. For this section of the Color Calibration Wizard, it is recommended that you perform the calibration in a natural light environment for best results. If you do not have an option to adjust brightness, which may be the case if you are using a laptop, you can click Skip Brightness and Contrast Adjustment. Otherwise, click Next.
Step 12: The wizard provides an example of what you should try to achieve. Click on Next.
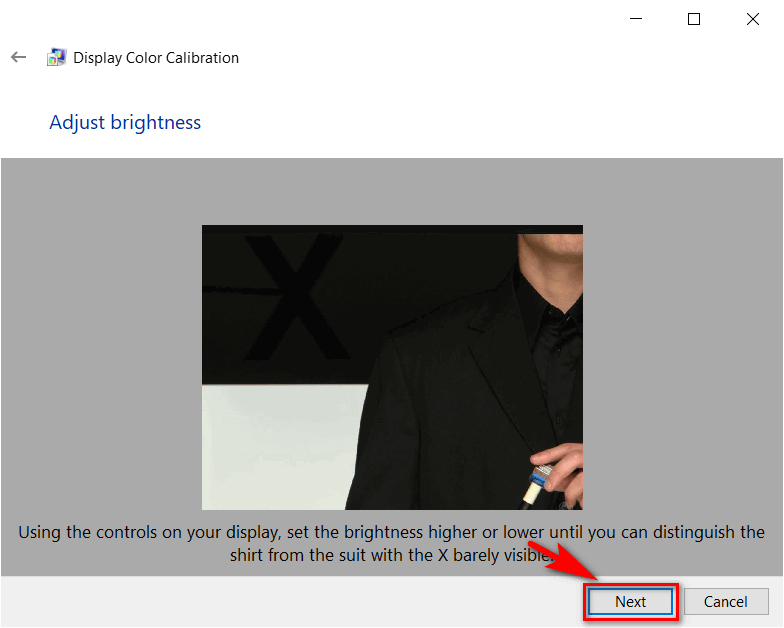
Step 13: Click Next when you are finished.
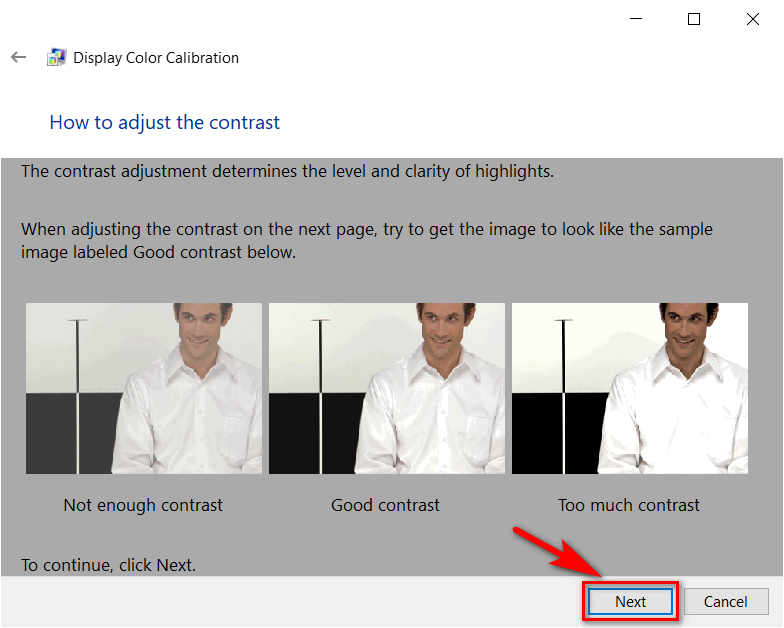
Step 14: Repeat the same process for contrast using the sample image as a reference.
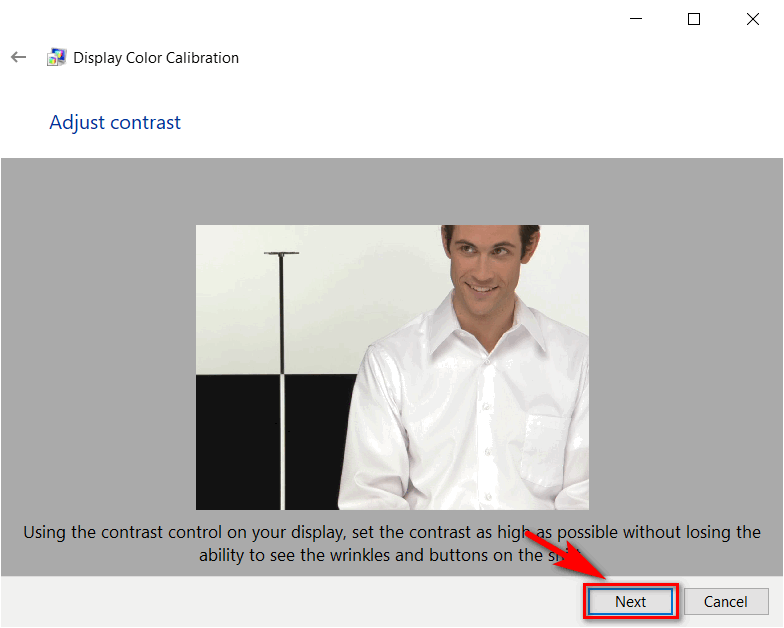
Step 15 : Click Next when you are finished.
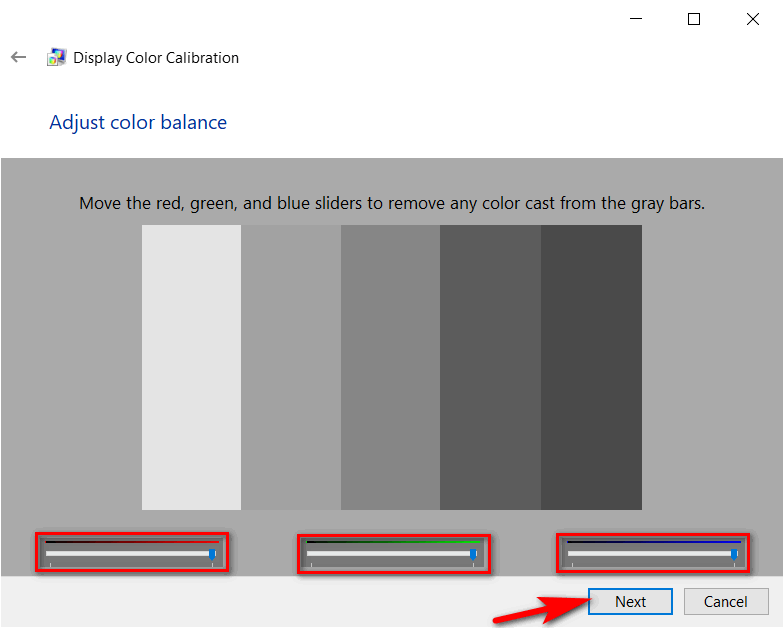
Step 16: Use the slider to make the appropriate adjustments. Click Next when you are finished.

Step 17: Use the slider to make the appropriate adjustments. Click Next when you are finished.
Step 18: When the calibration is complete, you can compare your previous settings with the current changes. You can always go back and make changes, but if you are satisfied, click Finish to save the changes or Cancel to keep the previous settings.
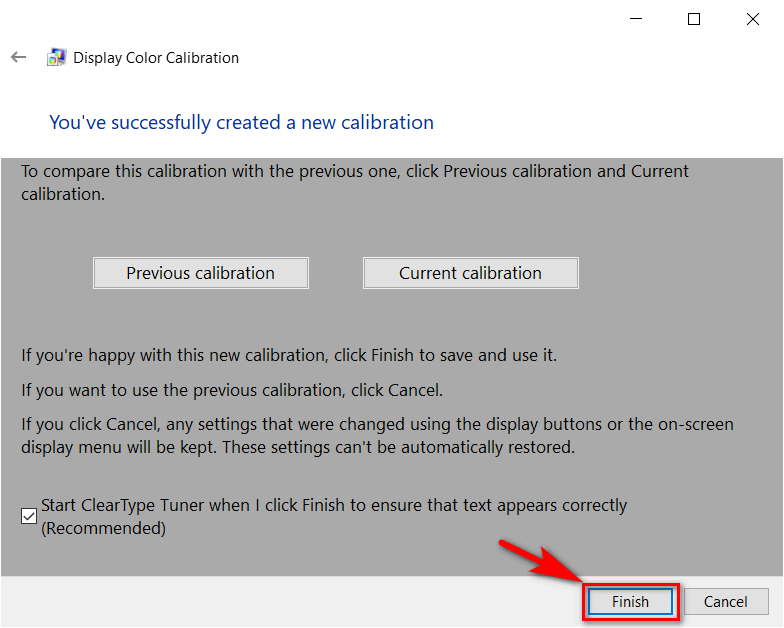
Your display is now configured to produce more accurate output and guaranteed real results when you print content.