How to Create a Windows 10 Bootable USB
In this tutorial, we are going to see how to create a Windows 10 bootable USB. To install Windows 10, the easiest solution is to create a bootable USB.
A few years ago we were all forced to use these CDs/DVDs which were not very practical to use. Nowadays, with USB keys, everything is much easier and especially faster.
In this tutorial, we are going to see two methods to create your Windows 10 bootable USB: with Microsoft’s media creation tool and with Rufus software. So prepare your USB drive.
Which method should I choose to create my Windows 10 USB flash drive?
- If you are looking for simplicity and speed, use method n°1, with the media creation tool. The tool takes care of everything: it downloads the installation files of the latest version of Windows 10 and copies them to the USB drive.
- If you are looking for a more practical solution, use method n°2, with the Rufus software. You keep a copy of the Windows 10 ISO to create and recreate several Windows 10 installation USB drives of your own choice. With Rufus, you can also choose the partition table (MBR or GPT) of the USB drive to install Windows 10 either in UEFI mode or in legacy BIOS mode.
Method n°1: Create a Windows 10 Bootable USB Using Microsoft’s Media Creation Tool
With Microsoft’s Media Creation Tool, creating a Windows 10 bootable USB flash drive is very easy: everything is done automatically, the tool installs the Windows 10 installation files on the USB flash drive like a pro.
Here’s how to proceed:
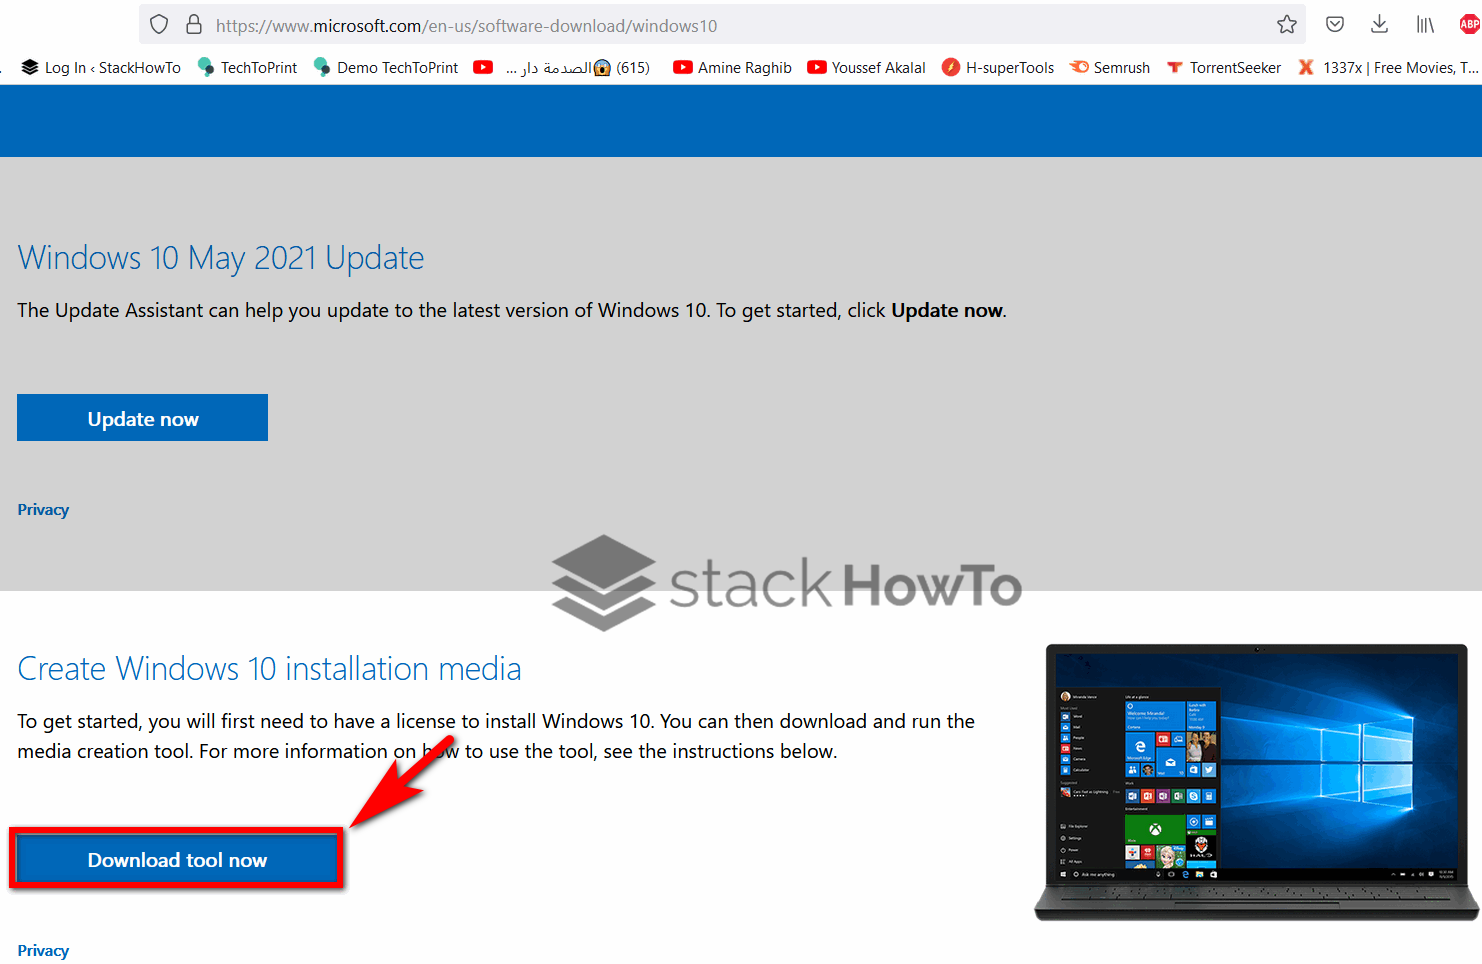
Step 1: Download the Windows 10 media creation tool.
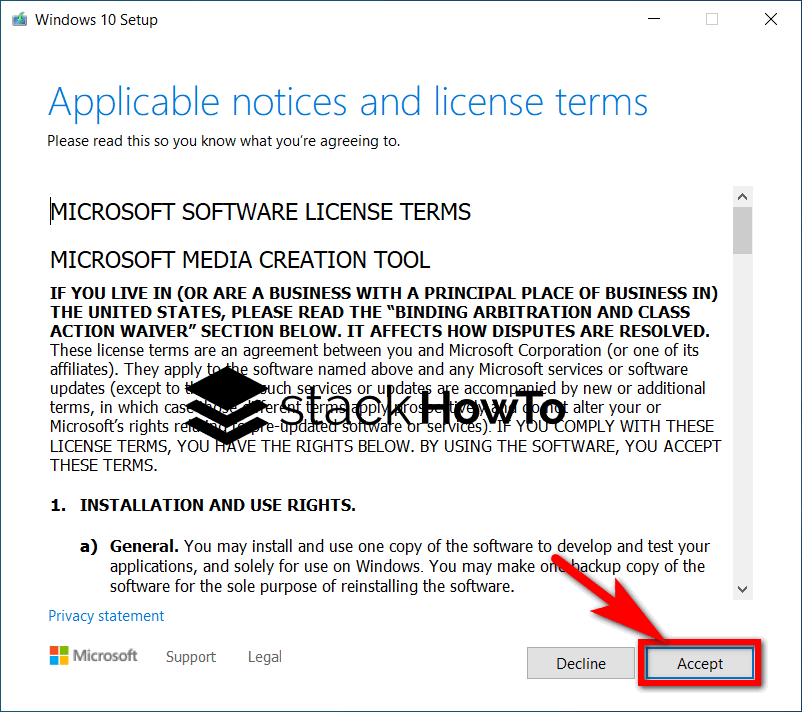
Step 2: Run the MediaCreationTool.exe file and accept the terms of the license agreement.
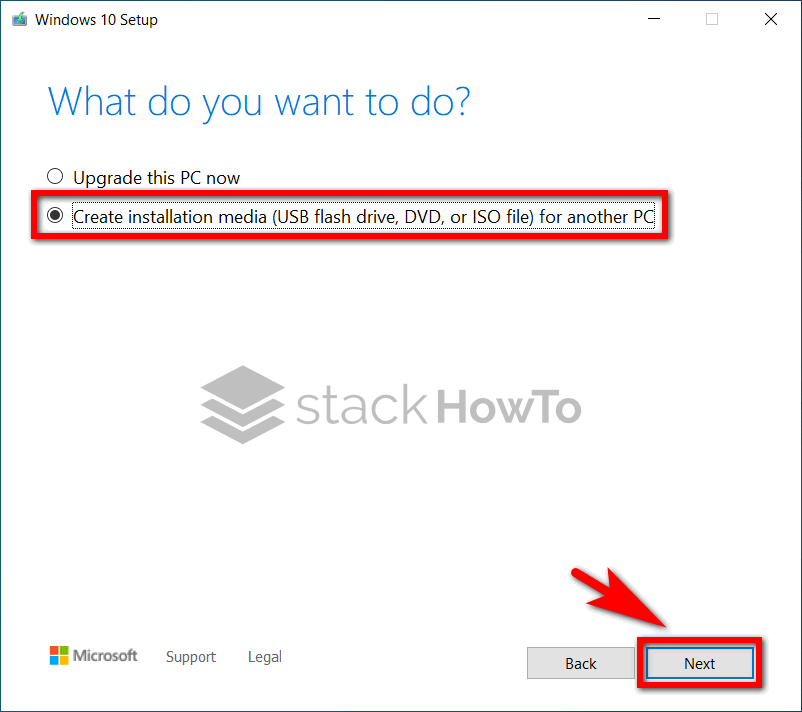
Step 3: Select Create installation media (USB flash drive, DVD or ISO file) for another PC.
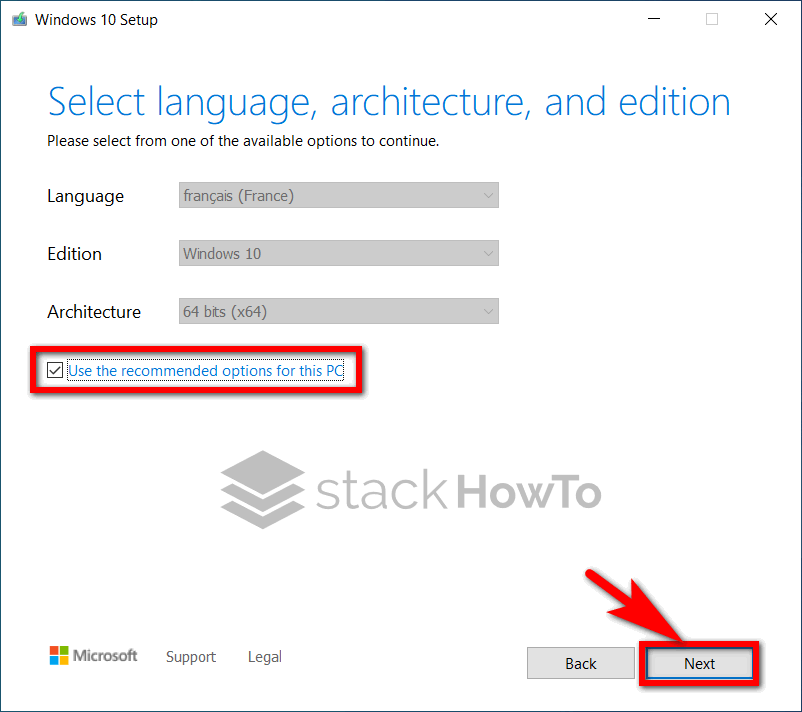
Step 4: Select the language and system architecture (in 99% of cases you will need the 64-bit version). If you check the box Use recommended options for this PC, the software will automatically select the right options for your computer.
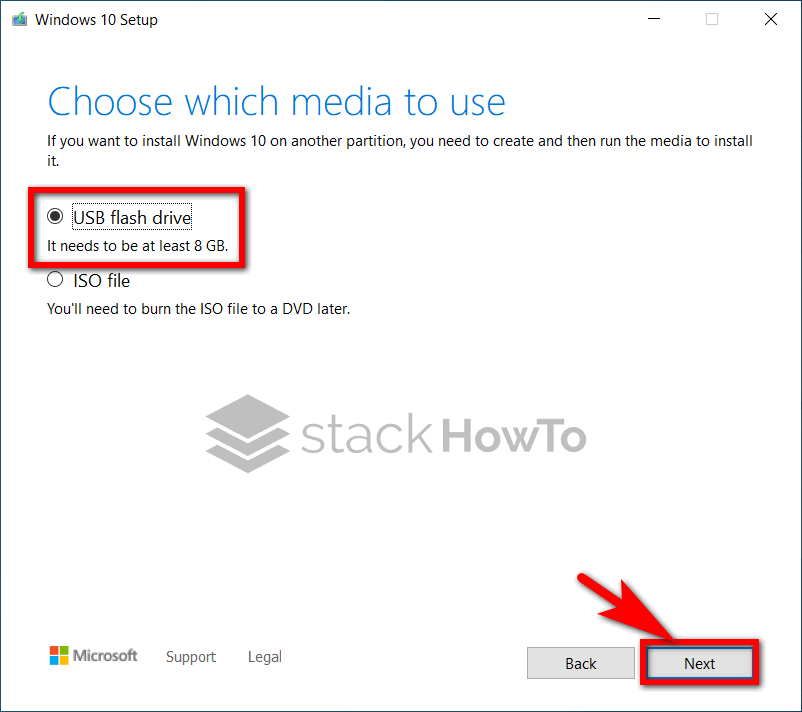
Step 5: Select USB flash drive and click Next.
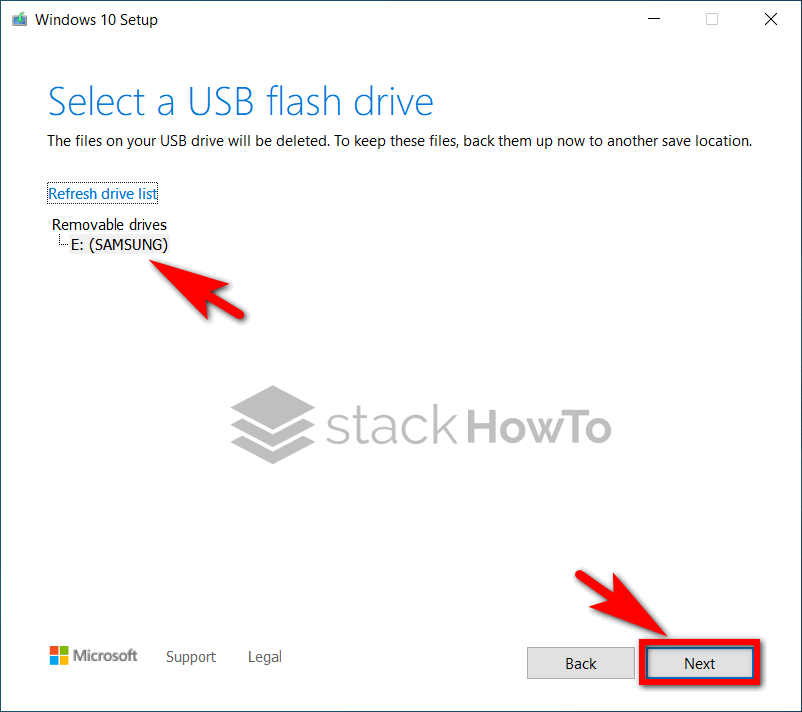
Step 6: Select the USB flash drive on which the Windows 10 installation files will be copied. In the screenshot below, We have selected the USB flash drive identified by the letter E:. If you are unsure about the USB key, feel free to go to File Explorer to see what it contains.
Click Next to start creating the Windows 10 bootable USB flash drive.
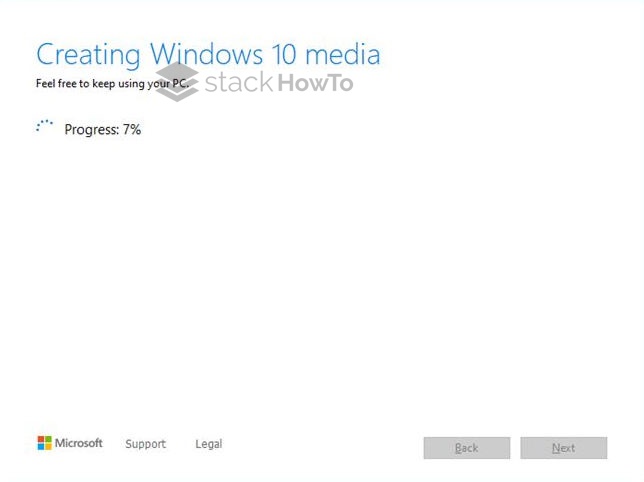
Step 7: The software downloads the Windows 10 installation files and then copies them to the USB flash drive. This operation takes more or less time depending on the speed of your Internet connection and the performance of the USB controller + USB flash drive.
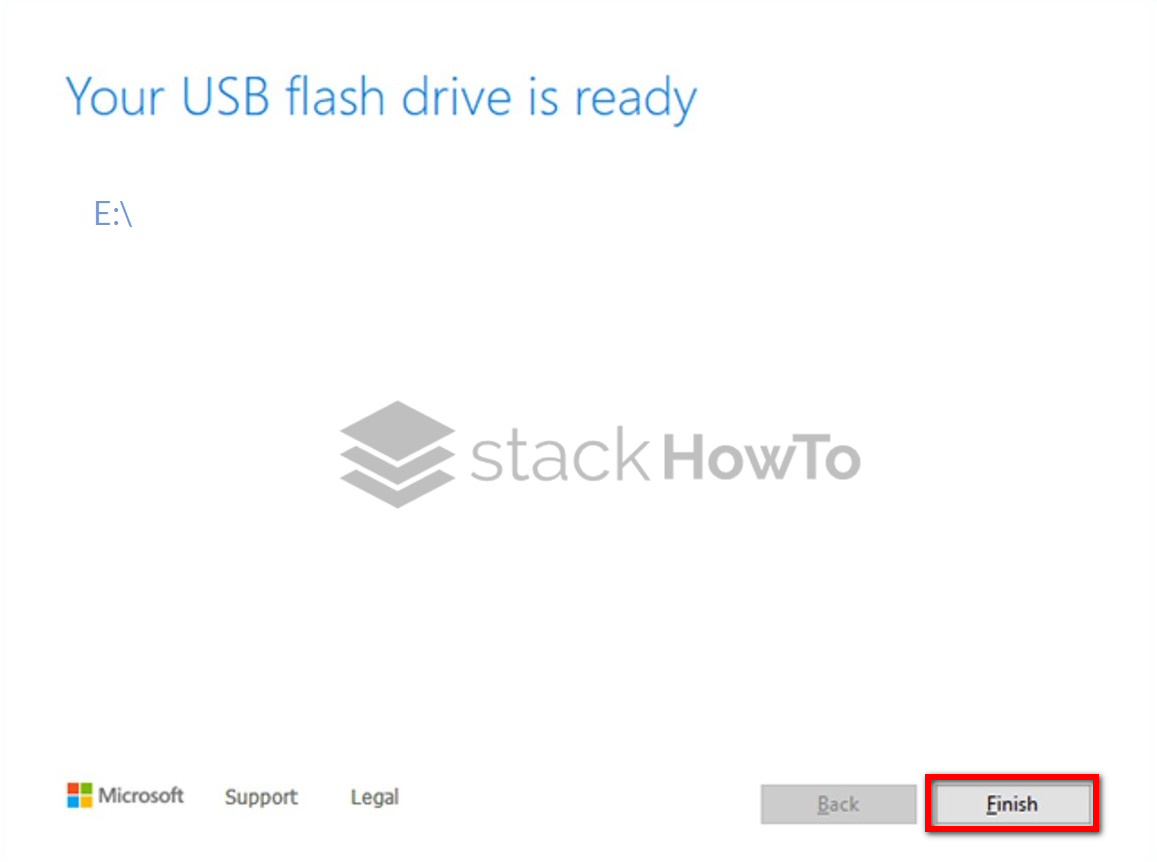
And that’s it, your Windows 10 bootable USB key is ready!
Method n°2: Create a Windows 10 Bootable USB Using Rufus software
Rufus is undoubtedly the reference software for creating bootable USB flash drives for any operating system, especially Windows.
Here’s how to use it:
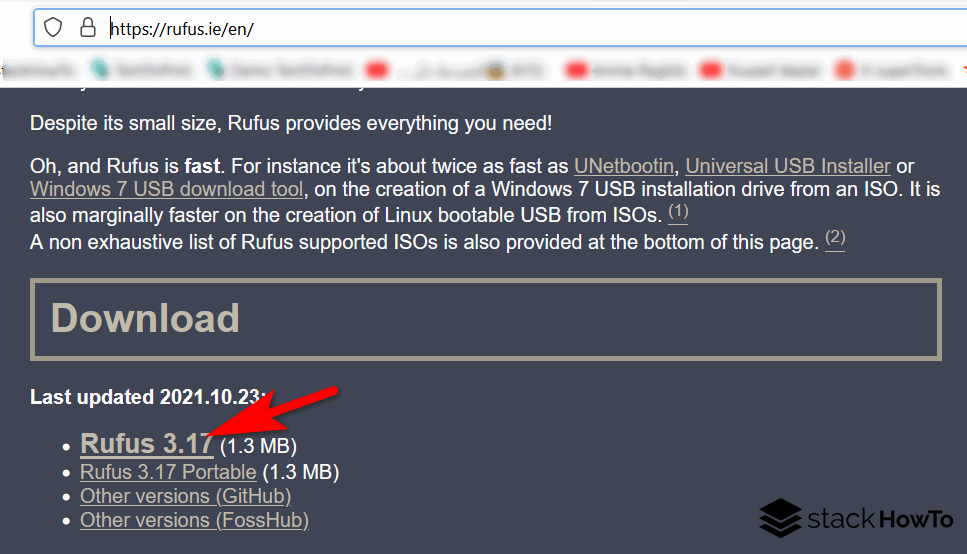
Step 1: Download the Rufus software.
Step 2: Open the Rufus software by double-clicking on the rufus.exe file.
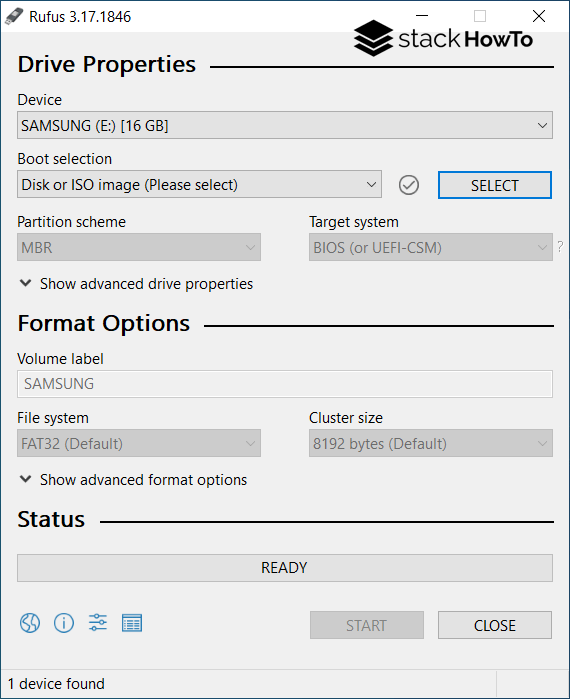
Step 3: Select the following options:
Device: Your USB stick (make sure you have selected the correct USB stick).
Boot selection: Disk image or ISO.
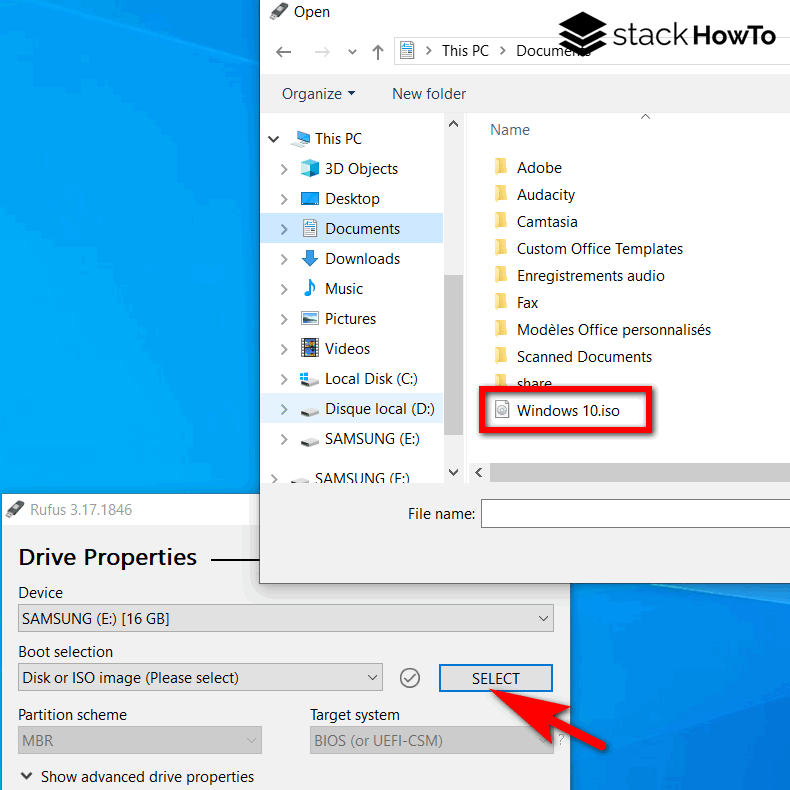
ISO file: You already have the Windows 10 ISO: click the SELECT button and select the Windows 10.iso file on your computer.
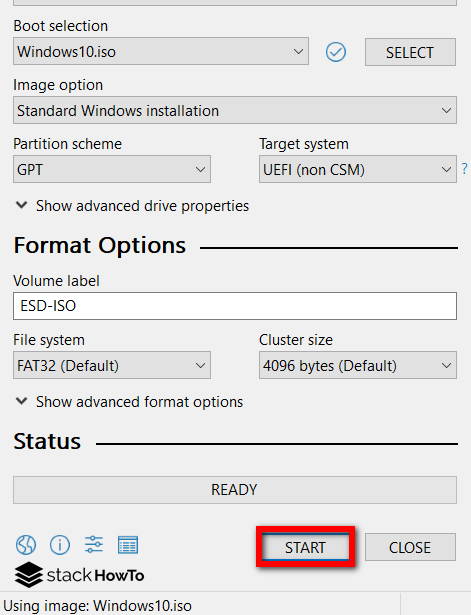
Step 4: Click on the START button.
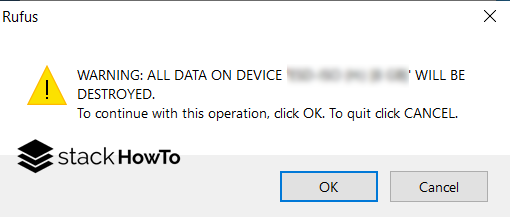
Step 5: Confirm the creation of the bootable USB flash drive by clicking OK.
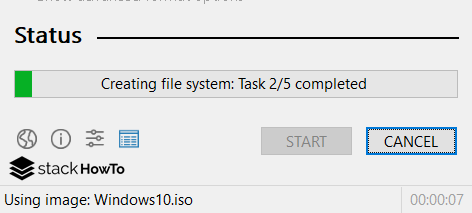
Step 6: Wait while the bootable USB flash drive is created.
That’s it, your Windows 10 bootable USB flash drive has been created!
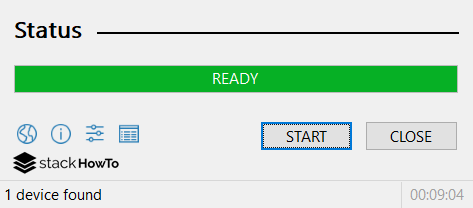
Congratulations! You have created a Windows 10 bootable USB flash drive using the Rufus software.