How to Run AutoHotKey Script on Startup Windows 10
In this tutorial, we are going to see how to run Autohotkey script on startup Windows 10. With a simple trick, you can run the AutoHotKey script at Windows system startup. It is quite easy to do. Follow the steps below to run the AutoHotKey script at system startup.
To get the most out of the AutoHotKey script, running it at system startup is essential. This eliminates the need to manually run the script and gives you instant access from the start.
Method 1: How to Run AutoHotKey Script on Startup Windows 10 Using a Shortcut
Windows has a particular folder named Startup where you can add application shortcuts that you want to start with the system. The only downside is that you have to add the application shortcut rather than the full exe file. Let’s see how it is done.
Step 1: First of all, we need to create the shortcut to the AutoHotKey script. To do this, find the AutoHotKey script you want to add to the startup, select it, hold the Alt key, and drag it to the same folder.
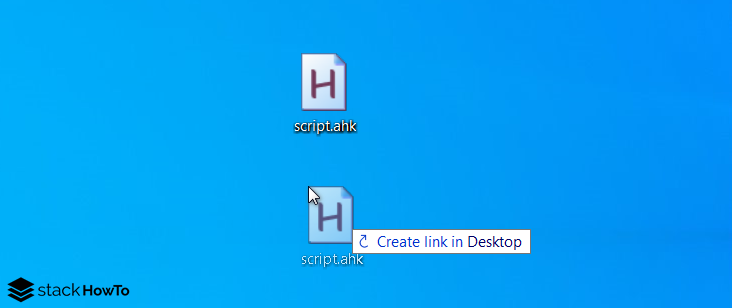
Step 2: The above action will instantly create a shortcut to the script. If you wish, you can remove the “.ahk – shortcut” suffix from the shortcut name.

Step 3: Once you have the shortcut, copy it. We will paste it into the startup folder.
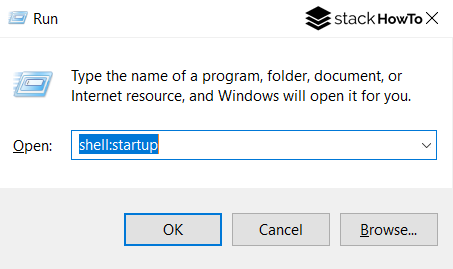
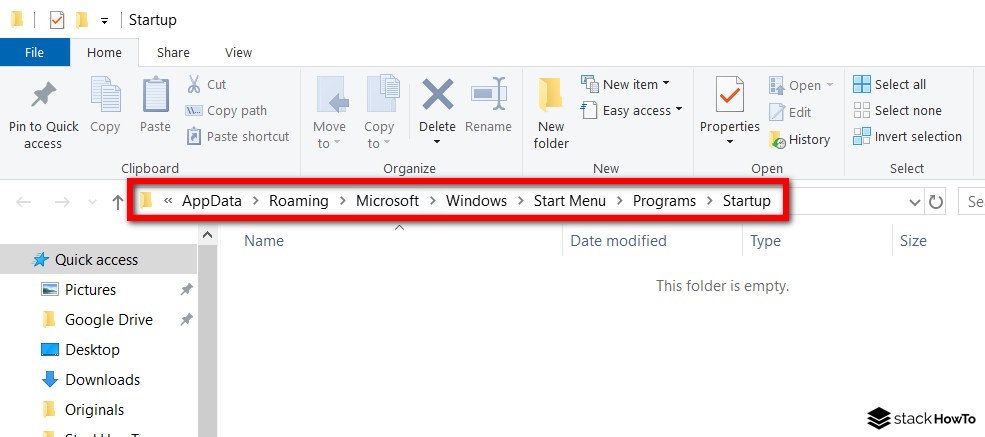
Step 4: Now press Windows + R to open the Run dialog box. Here, type the shell command shell:startup and click the Ok button.
Step 5: The Startup folder opens. Don’t be surprised if it is empty the first time you open it, it is normal. You could find it “by hand”, without using the Run command, but the path is complex to find it in the Windows tree.
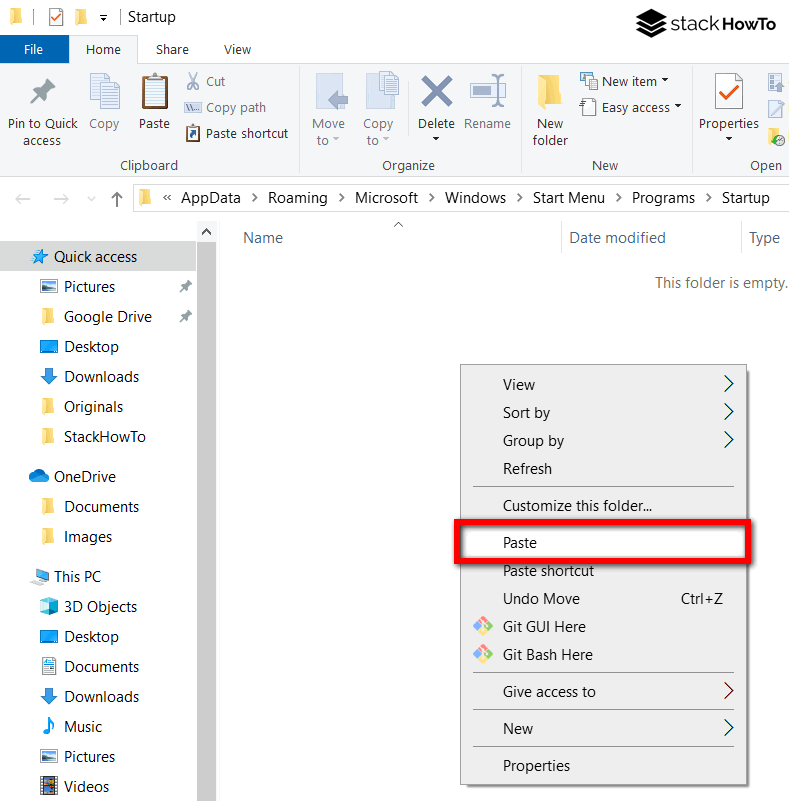
Step 6: Right-click in a free area of the window and click Paste to past the shortcut. So the script shortcut you selected is copied to the Startup folder.
This is what it should look like when you are done adding the script shortcut.
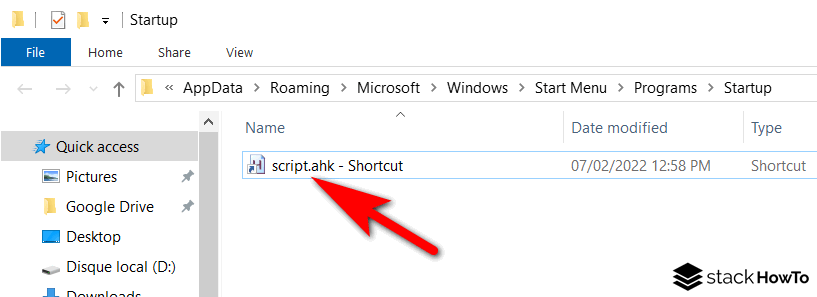
That’s it! Now, this script shortcut will run automatically every time you start Windows.
Method 2: How to Run AutoHotKey Script on Startup Windows 10 Using Task Scheduler
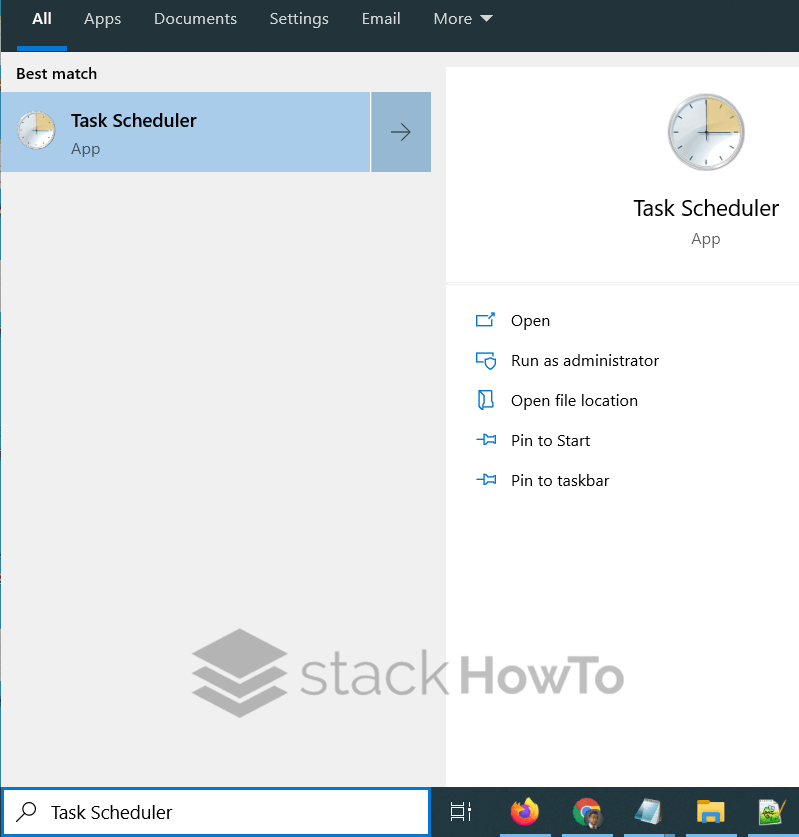
Step 1: Click on start button and type Task Scheduler.
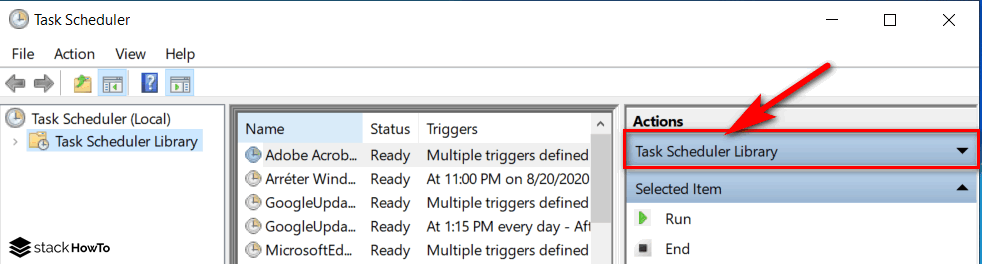
Step 2: Click on Task Scheduler Library
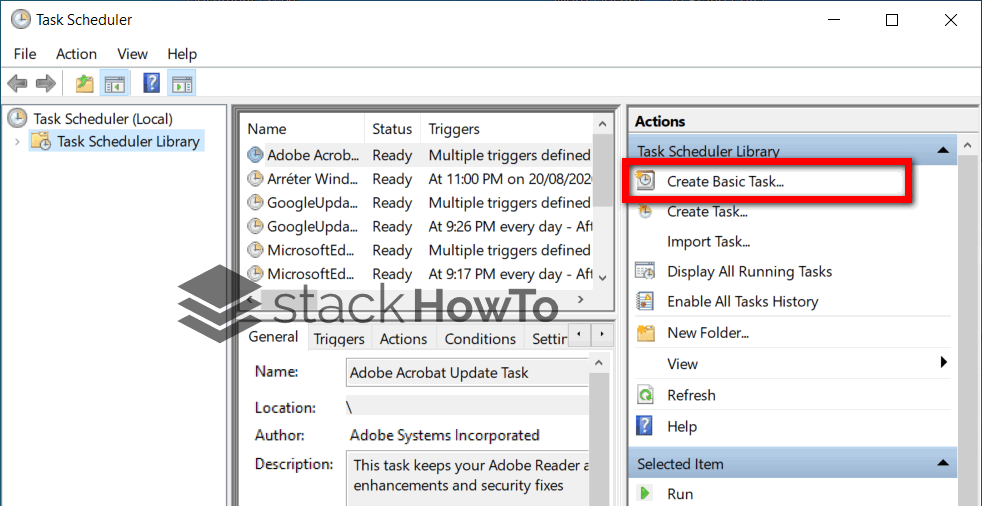
Step 3: Click on Create Basic Task on the right drop-down list:
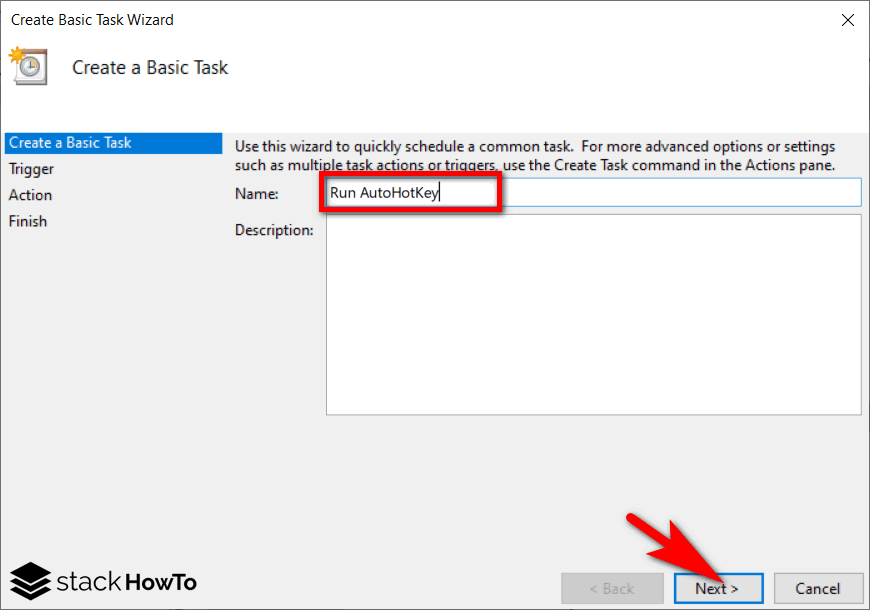
Step 4: Type a name like Run AutoHotKey, and click on Next.
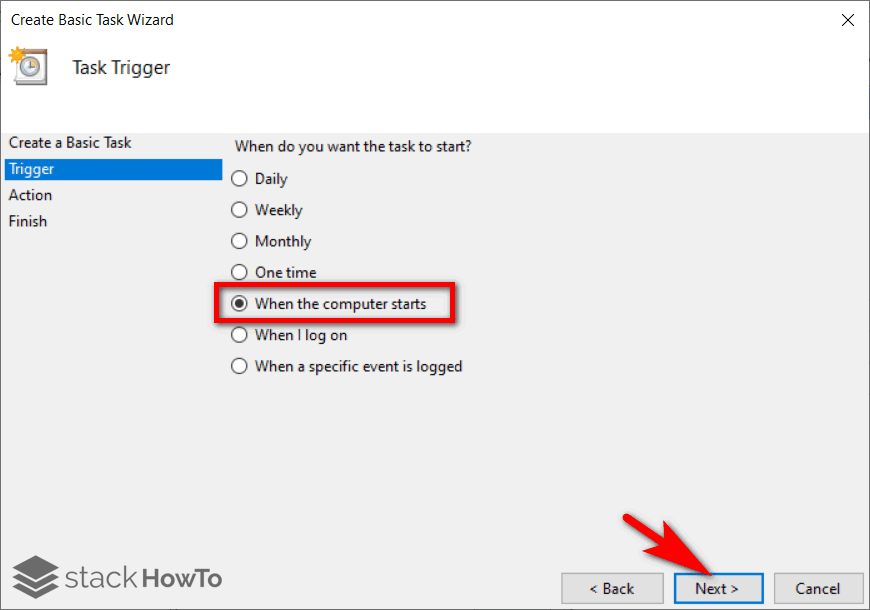
Step 5: Here, select when the task should start. So We selected the When the computer starts option. You can select any option of your choice.
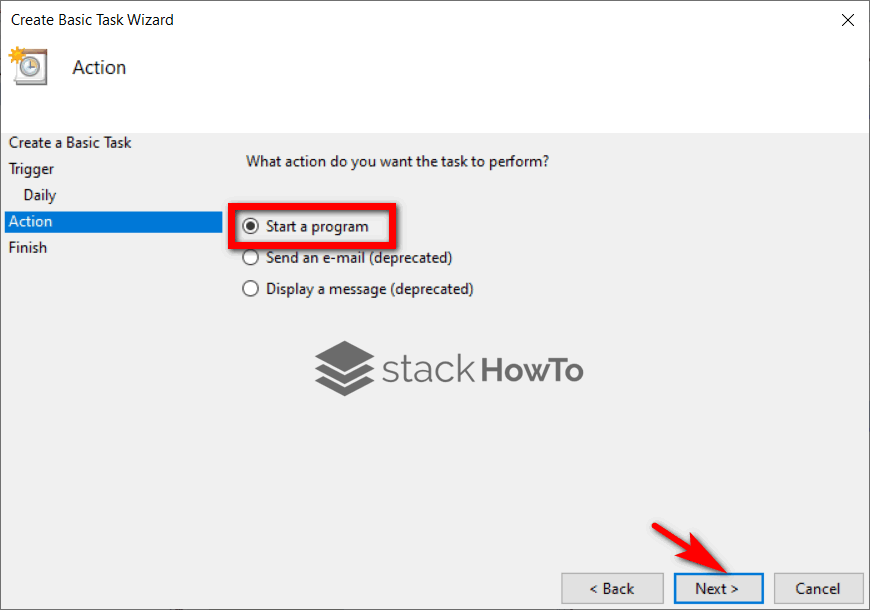
Step 6: Select Start a program and click Next.
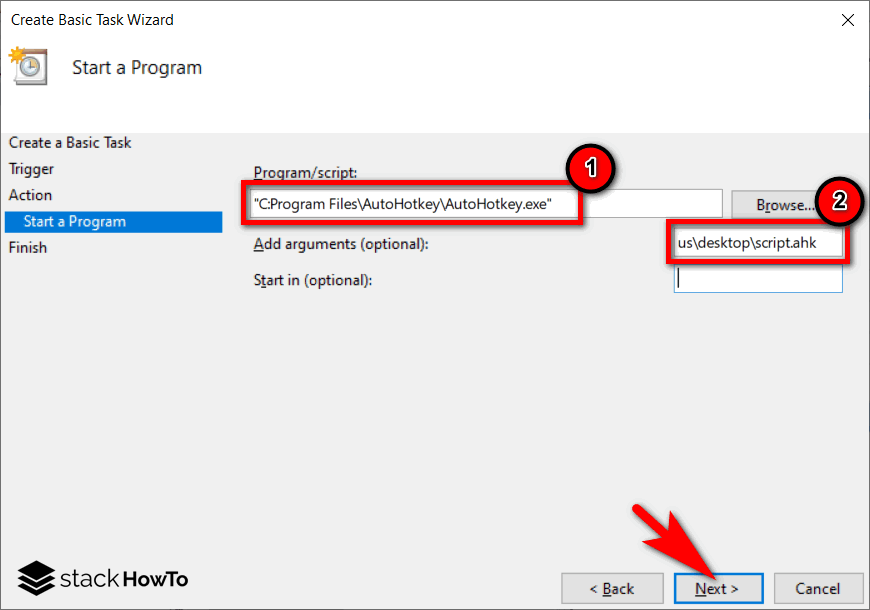
Step 7: In the field Program/script, enter the following file path. In the Arguments field, enter the path to the AutoHotKey script file (.ahk).
Note: If you have installed AutoHotKey in another location, change the path below accordingly.
"C:Program Files\AutoHotkey\AutoHotkey.exe"
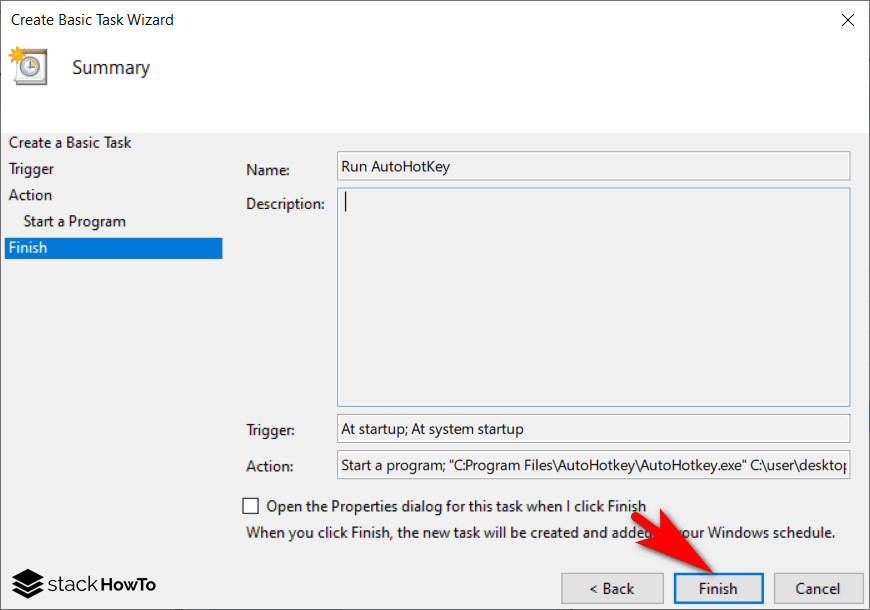
Step 8: In the Summary window, click the Finish button to complete the task creation process.
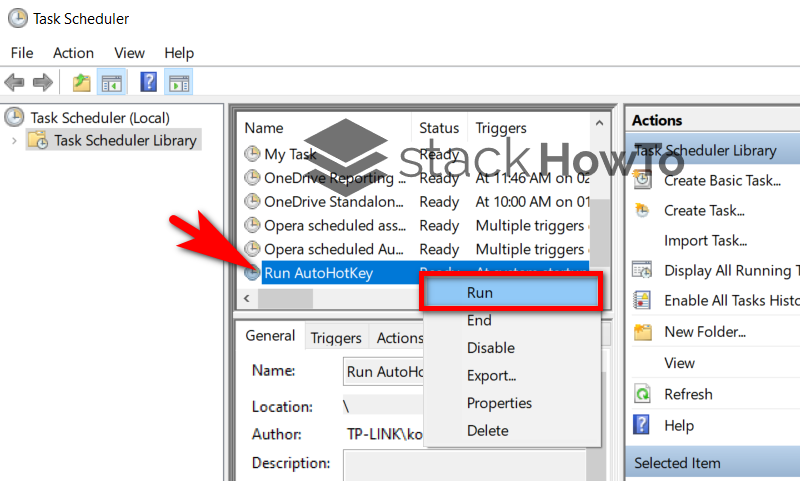
Step 9: Finally, find the newly created task, right click on it and select “Run” and see if the task runs correctly. If it did not run as expected, recheck the above steps.
That’s it! Now, this script shortcut will run automatically every time you start Windows.