
How to Display Blob Image in PHP from Database
In this tutorial, we are going to see how to display blob image in PHP from database. Uploading images is very simple. There are two ways to upload an image either in a database or in a folder and save the path in the database.
MySQL has a blob data type that allows you to store binary data. A blob is a set of binary data stored as a single entity in a database management system. Blobs are usually images, audio, or other multimedia blob objects. MySQL has four types of BLOB:
- TINYBLOB
- BLOB
- MEDIUMBLOB
- LONGBLOB
All these types differ only in size.
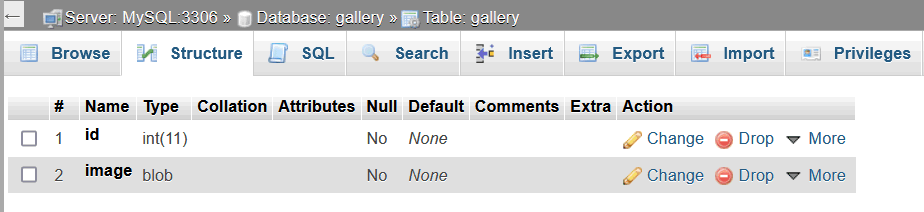
Step 1: Create a table named ‘gallery’. The table will contain two fields, the first is “id” and the second is “image” this will have the type BLOB to store the image. As shown below:
Step 2: Create the index.php page
<html>
<head>
<title>Display Blob Image in PHP</title>
</head>
<body>
    <form enctype="multipart/form-data" action="upload.php" method="post">
        <label>Upload the image file:</label><br />
        <input name="userImage" type="file" />
        <input type="submit" value="Upload" />
    </form>
    </div>
</body>
</html>
Step 3: Create “upload.php” file to store the image in the database.
<?php
if(isset($_POST["submit"])){

    $b = getimagesize($_FILES["userImage"]["tmp_name"]);

    //Check if the user has selected an image
    if($b !== false){
        //Get the contents of the image
        $file = $_FILES['userImage']['tmp_name'];
        $image = addslashes(file_get_contents($file));

        $host     = 'localhost';
        $username = 'root';
        $password = ' ';
        $db     = 'test';

        //Create the connection and select the database
        $db = new mysqli($host, $username, $password, $db);

        // Check the connection
        if($db->connect_error){
            die("Connexion error: " . $db->connect_error);
        }

        //Insert the image into the database
        $query = $db->query("INSERT into gallery (image) VALUES ('$image')");
        if($query){
            echo "File uploaded successfully.";
        }else{
            echo "File upload failed.";
        }
    }else{
        echo "Please select an image to upload.";
    }
}
?>
Step 4: Create “display.php” file to get the image from the database.
In this file, we will grab the image from MySQL database based on ID and display it on the webpage. To render the image file in the web page, the Content-type header is used.
<?php
if(!empty($_GET['id'])){

    $host     = 'localhost';
    $username = 'root';
    $password = ' ';
    $db     = 'test';

    //Create the connection and select the database
    $db = new mysqli($host, $username, $password, $db);

    // Check the connection
    if($db->connect_error){
        die("Connexion error: " . $db->connect_error);
    }

    //Get the image from the database
    $res = $db->query("SELECT image FROM gallery WHERE id = {$_GET['id']}");

    if($res->num_rows > 0){
        $img = $res->fetch_assoc();

        //Render the image
        header("Content-type: image/jpg");
        echo $img['image'];
    }else{
        echo 'Image not found...';
    }
}
?>
By default, PHP does not allow uploading files > 2 MB. Uploading large images fails if you do not change the upload-max-filesize and post-max-size directives.