How to install MySQL on Windows
In this tutorial, we are going to see how to install MySQL on Windows step by step, using the MySQL installer. After this tutorial, you will have MySQL server and its tools operational on your system to learn and practice.
Note: if you use other operating system platforms such as Linux, use the following tutorial:
- Install MySQL 8 on CentOS 7
- Installing MySQL 8 on Ubuntu
Download MySQL installer
To download MySQL installer, go to this link. There are two installation files:
- If you connect to the Internet while installing MySQL, you can choose the online installation version mysql-installer-web-community-<version>.exe.
- If you want to install MySQL offline, you can download the file mysql-installer-community-<version>.exe.

Note that the download links do not lead directly to the files. Instead, they lead to a next page where you are prompted to log in or create an account. If you don’t want to create an account, you can locate the text “No thanks, just start my download.”

Install MySQL via the installer
To install MySQL using the installer, double click on the MySQL installer file and follow the steps below:

The first screen asks you to accept the terms and conditions. Specifically, it is the GNU Public License, one of the major open-source licenses. select “I accept the terms”, then select “Next”.

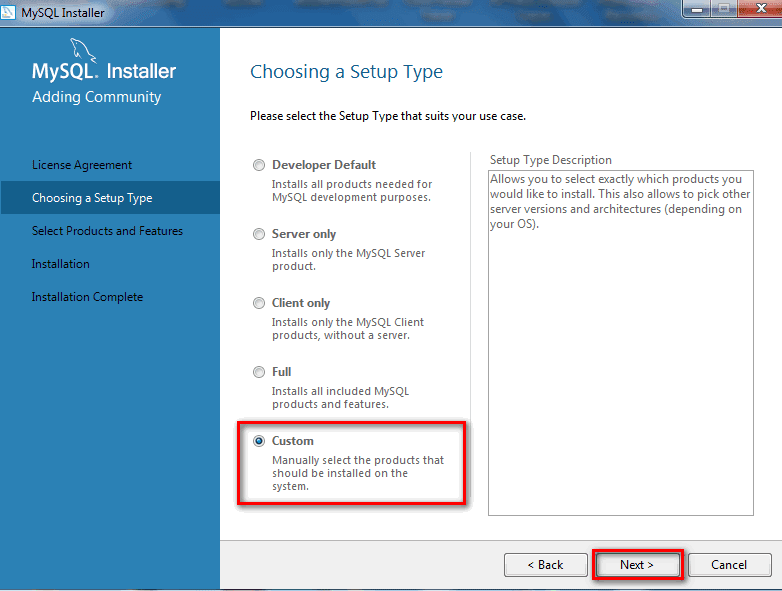
Then you have the choice between several types of installation. Choose “Custom”.
On the screen “Select Products and Features”, you need to move the items from left to right. First, open “MySQL Servers”. Then navigate to the server you need (MySQL Server 8.0.17 – X64) and select the arrow pointing to the right. It is now selected for installation.
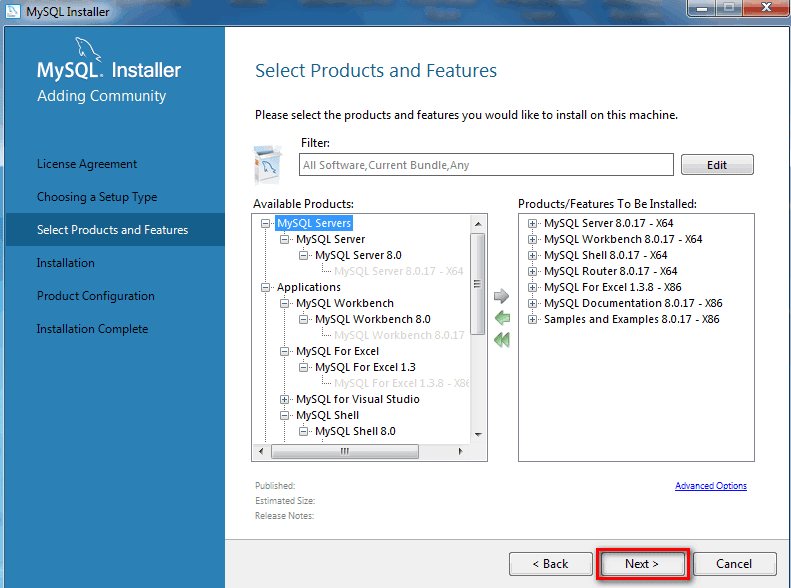
Select Applications, then select everything except MySQL for Excel and MySQL for Visual Studio. Again, select the right arrow for installation, then select “Next”.
Click “Execute” to begin the installation.

Now the installer will start downloading MySQL automatically.

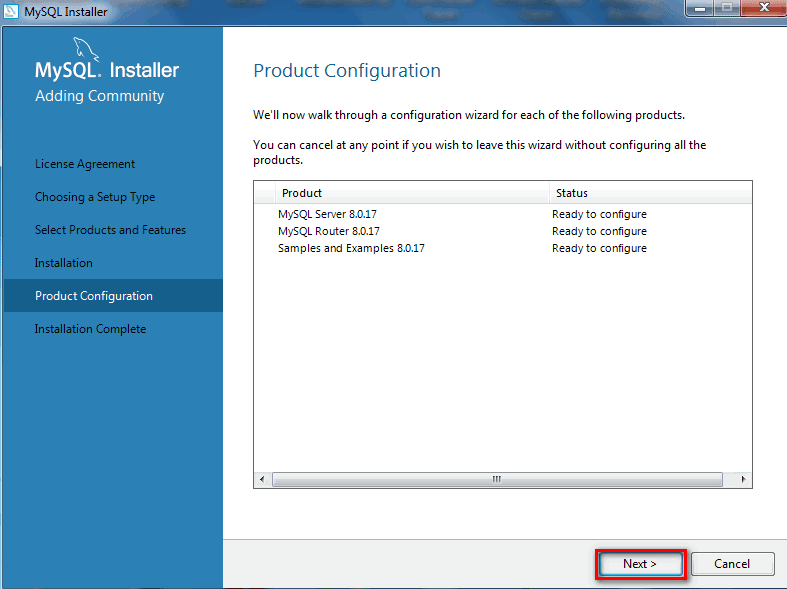
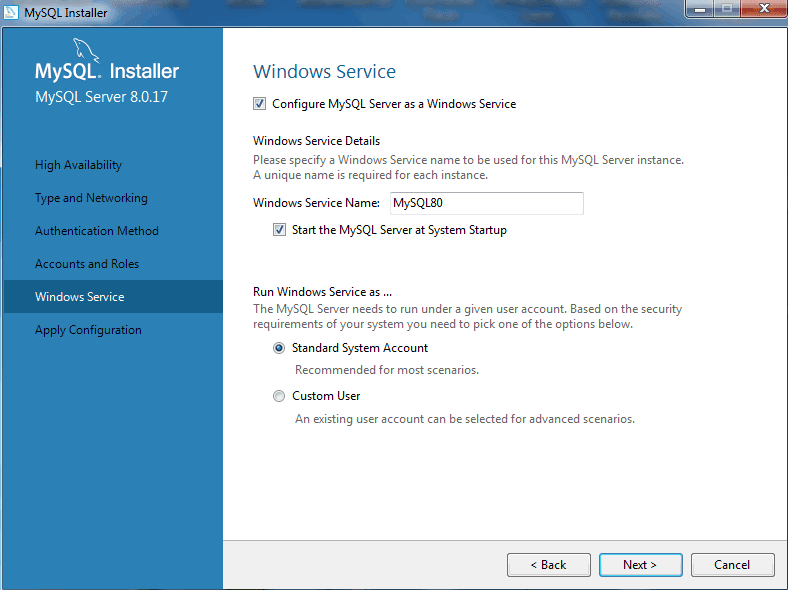
Once installed, select “Next”. The wizard will then guide you through the configuration.
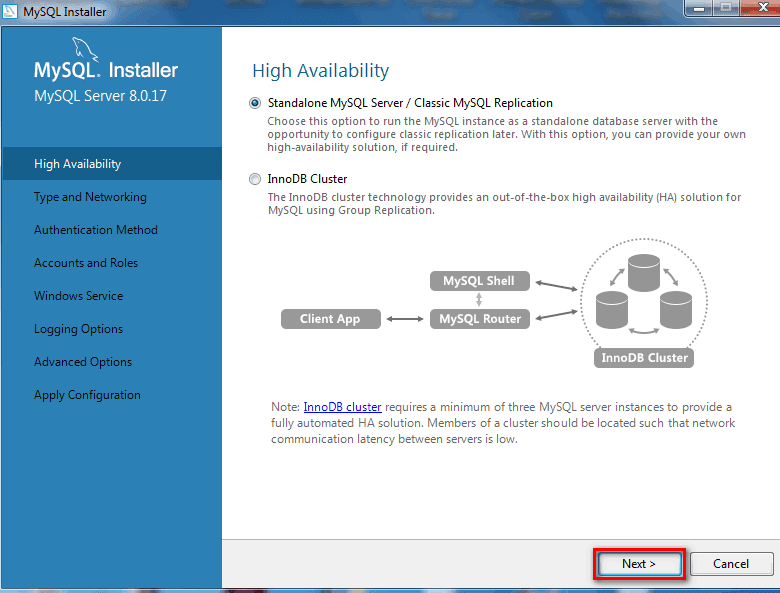
Configure the MySQL server as follows, select “Standalone MySQL Server / Classic MySQL Replication”:
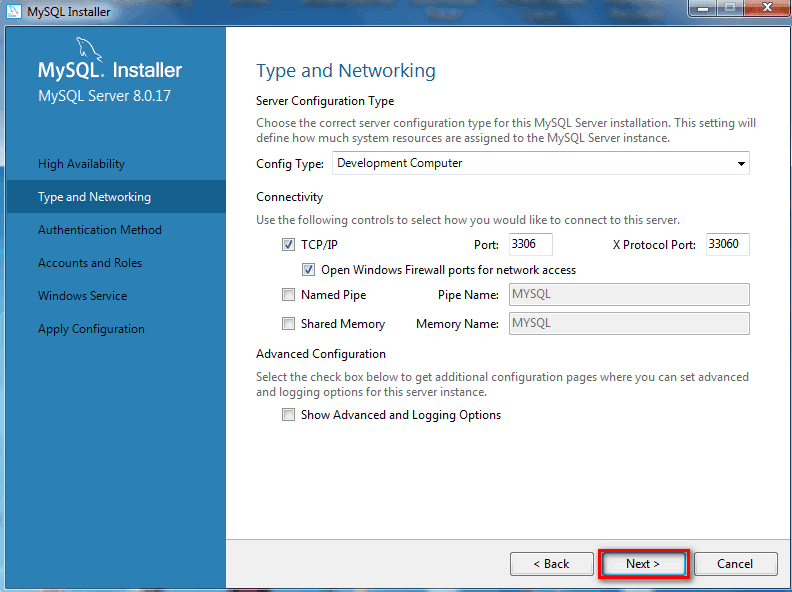
Type and networking: select the default option “Development Computer”, which will allow you to work locally.
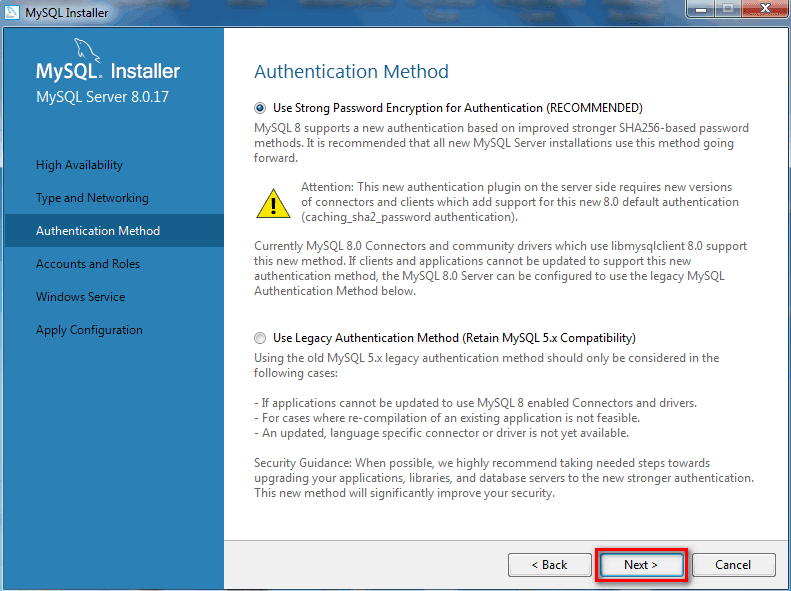
Select “Use Strong Password Encryption for Authentication”.
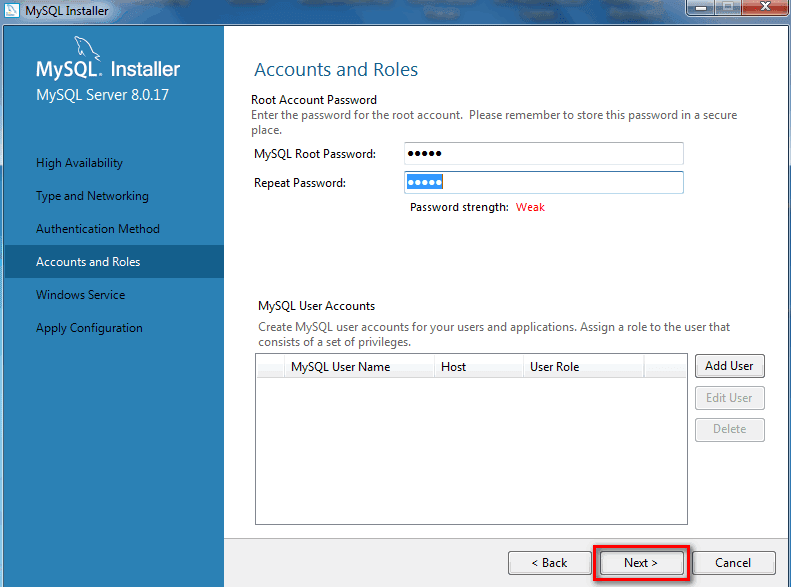
Enter a password for your MySQL root (admin) user. Normally you can set up at least one regular user with a name and password as well, but since you are just testing, the root account is sufficient.
Here you can keep the default values.
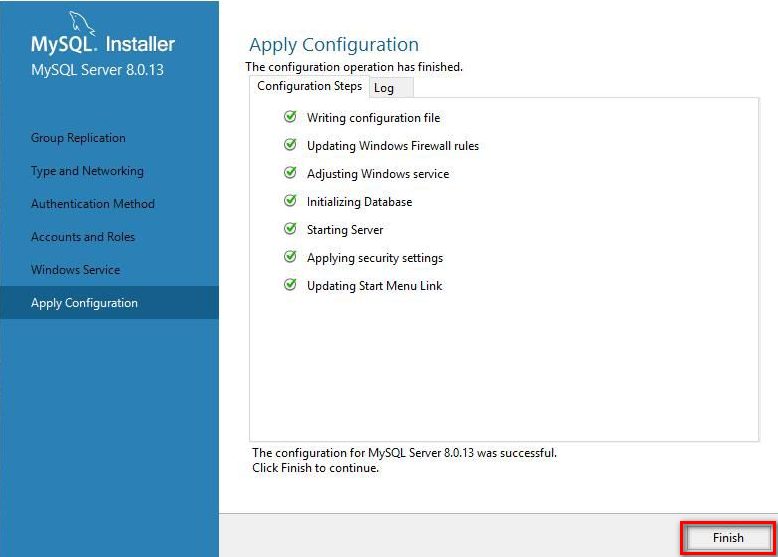
Select “Execute” to apply your configurations.

Finally, click on “Finish”.