How to install Python on Windows
In this tutorial, we are going to see how to install Python on Windows. PyCharm is a cross-platform editor developed by JetBrains. PyCharm provides all the tools you need to start developing on Python.
Here are the detailed steps to install Python and PyCharm.
Install Python
Step – 1
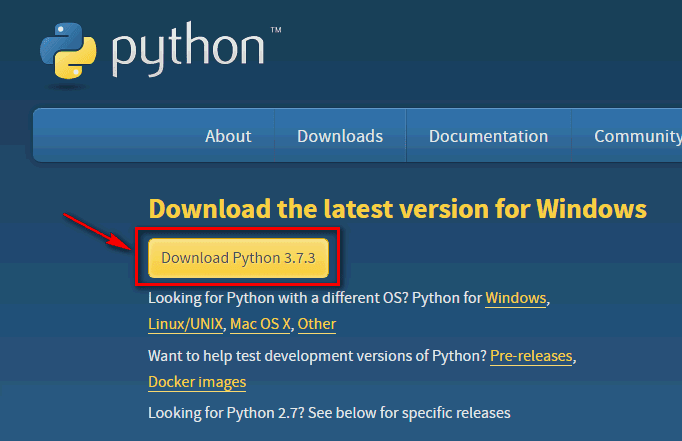
To download and install Python, visit the official Python site http://www.python.org/downloads/ and choose your version. Here we have chosen Python version 3.7.3
Step – 2
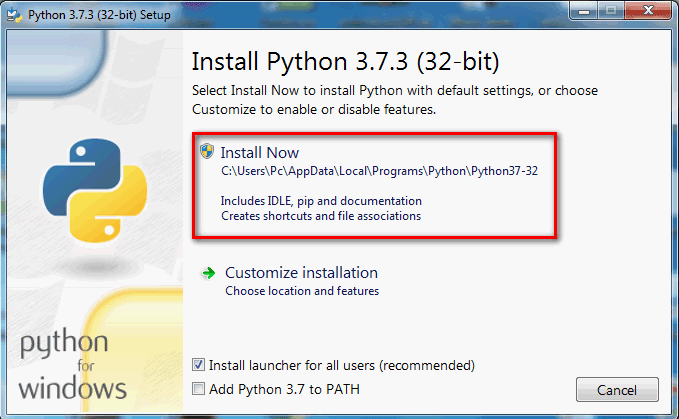
Once the download is complete, run the exe file to install Python. Now click on “Install Now”.
Step – 3
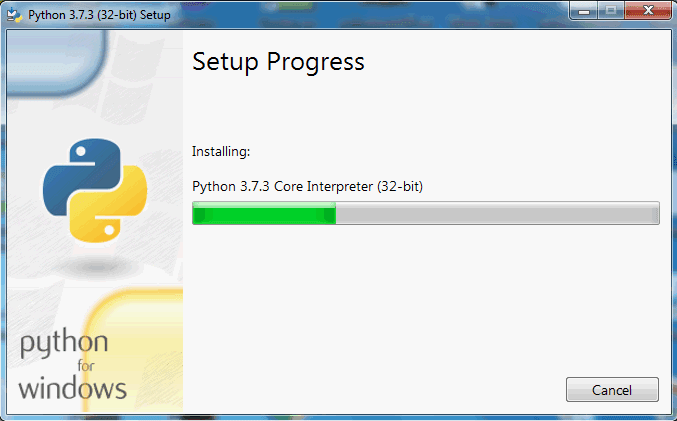
You can see the installation of Python at this point.
Step – 4
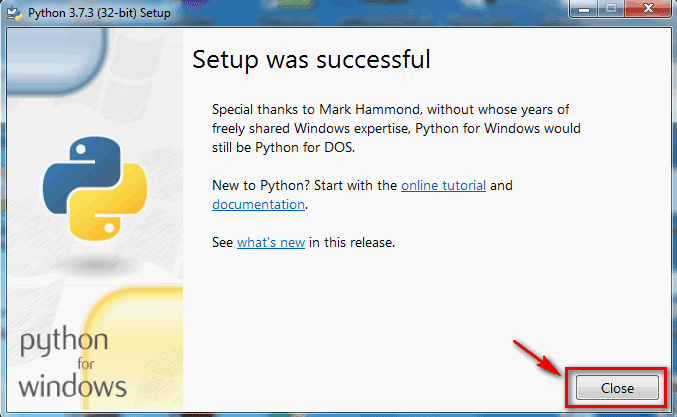
Once the installation is complete, you may see a window indicating that the setup was successful. Now click on “Close”.
Installing Pycharm
Step – 1
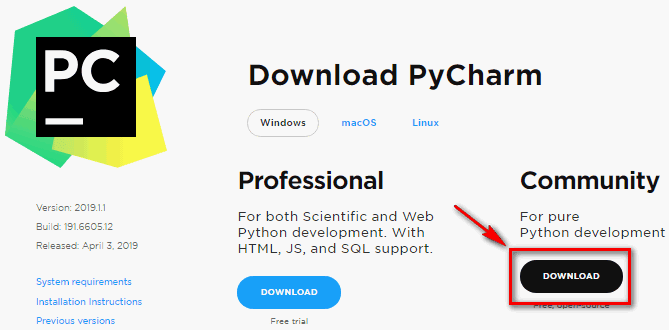
To download PyCharm, visit the website https://www.jetbrains.com/pycharm/download/ and click on the “DOWNLOAD” link under the Community section.
Step – 2
Once the download is complete, run the exe file to install PyCharm. The installation wizard should have started. Click on “Next”.

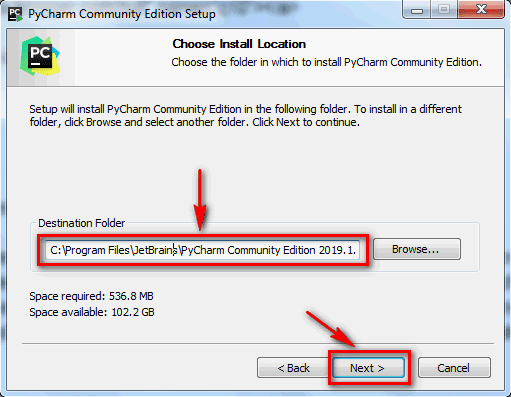
Step – 3
Next, change the installation path if necessary. Click on “Next”.
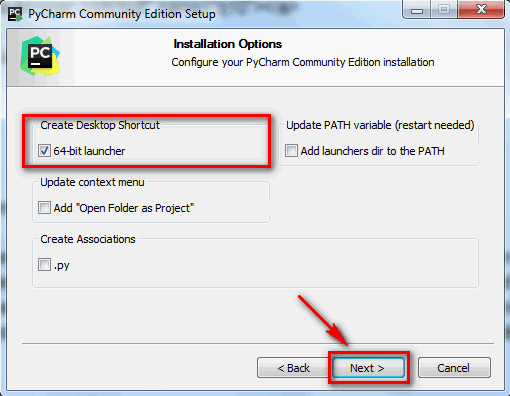
Step – 4
Next, you can create a shortcut on the desktop if you wish and click “Next”.
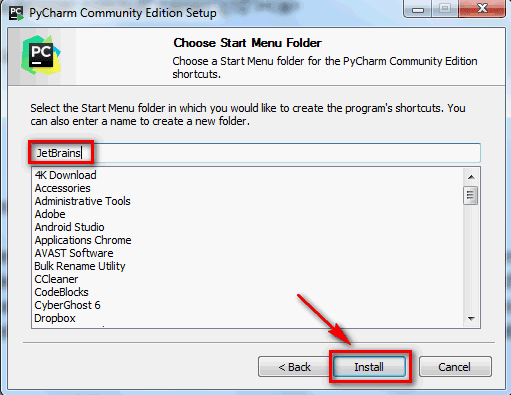
Step – 5
Choose the directory from the start menu. Keep JetBrains selected and click on “Install”.
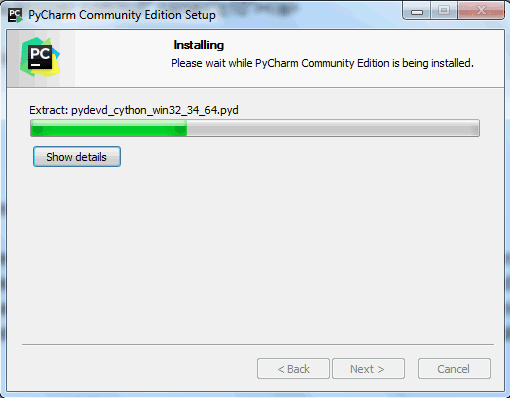
Step – 6
Wait until the installation is complete.
Step – 7
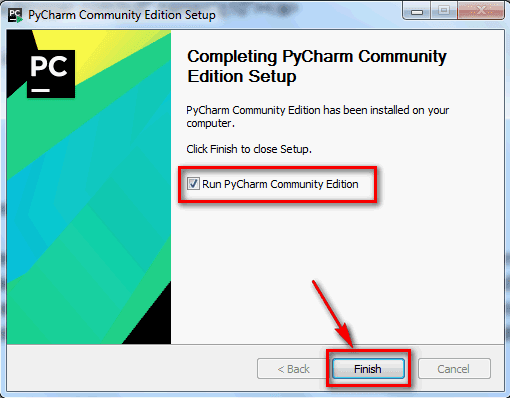
Once the installation is complete, you should get a message indicating that PyCharm is installed. If you want to run it, first check the “Run PyCharm Community Edition” box, then click “Finish”.
Step – 8
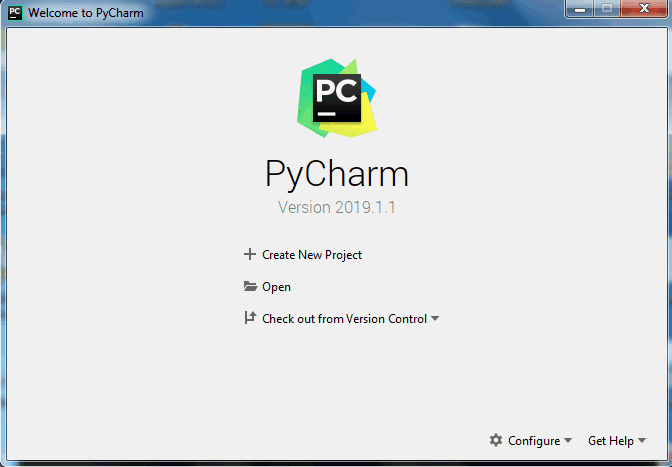
After clicking on “Finish”, the following screen appears.